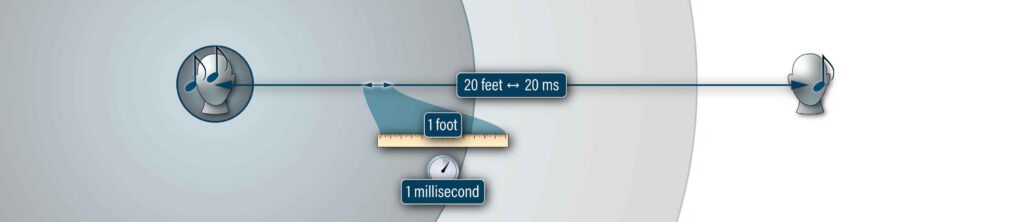
The time between the moment one musician makes a sound and the moment another hears it is called latency.
Requirements for making music in rhythmic sync
In order to play music with other people, especially in styles where rhythmic synchrony is important, it’s essential that the players hear each other as quickly as possible. Even when playing together in the same room, there’s some amount of latency, because sound travels through air at about 1 foot per millisecond, meaning it takes about one thousandth of a second to travel one foot.
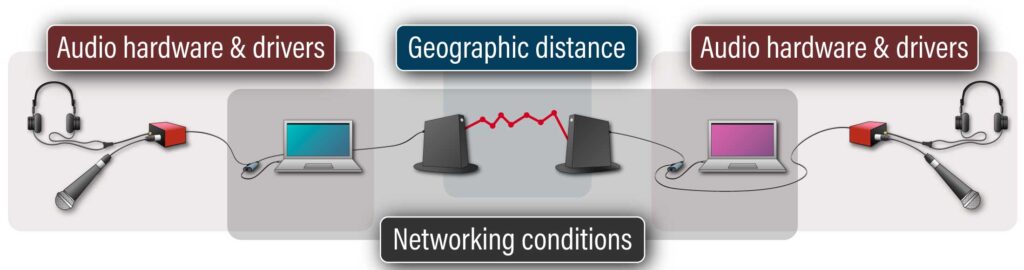
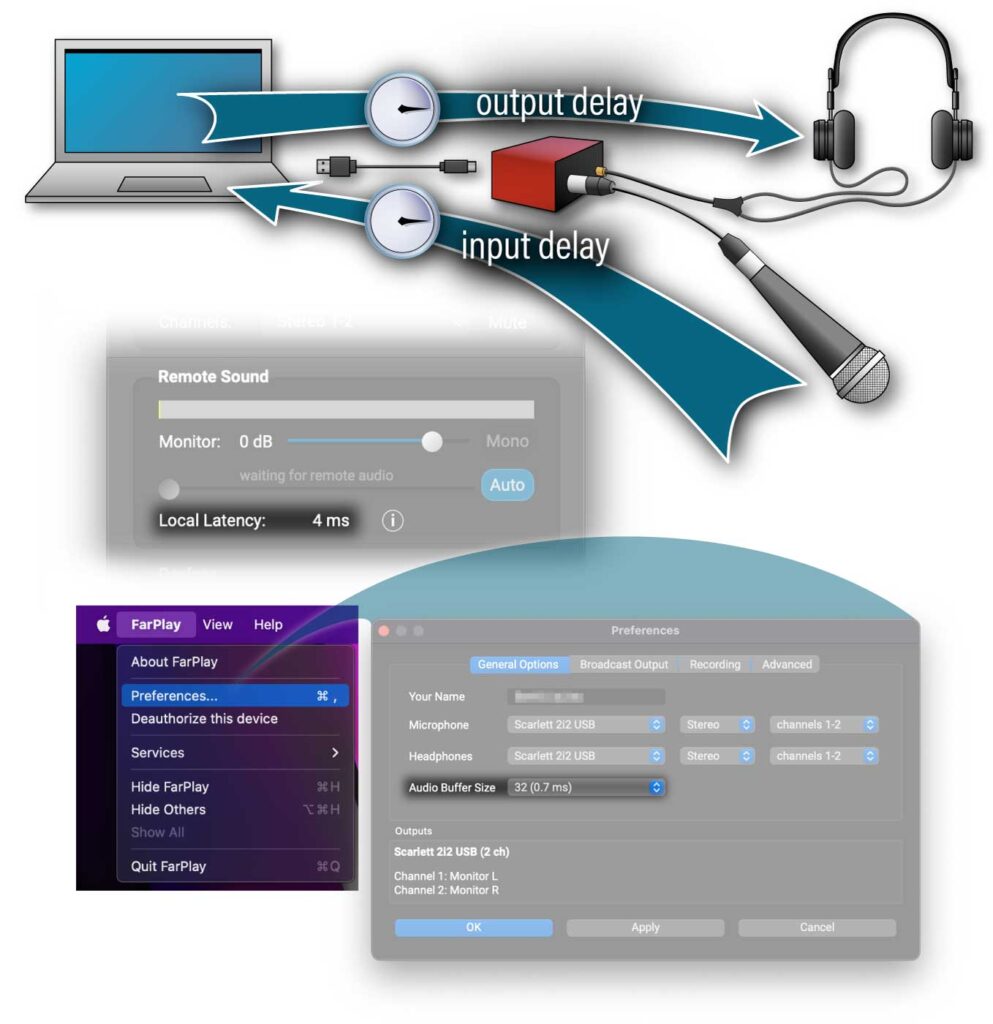
Once you have minimized contributions to latency from audio hardware and networking performance, you need to choose a balance between latency and signal clarity.
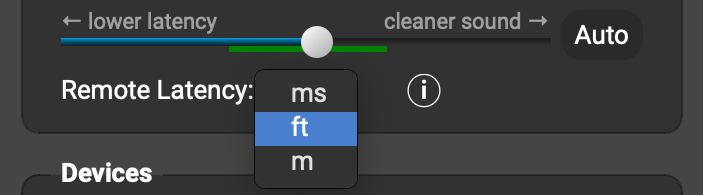
Latency slider and latency-vs.-clarity trade-off
Why does FarPlay’s latency slider make us choose between lower latency and cleaner sound? Why can’t we have sound that is completely free of both latency and static at the same time?
End-to-end audio delivery time varies
Audio is transmitted through the Internet in “packets.” Each packet delivers a very short portion of sound. The home-to-home delivery time can vary from packet to packet. If we played each packet immediately upon arrival, packets would be played at irregular intervals of time, often creating gaps in playback heard as audible static or crackles. To solve this problem, we temporarily store arriving packets in a jitter buffer. To simplify explanations on this page, we visualize a jitter buffer as a conveyor belt—this represents a portion of computer memory of fixed size. (FarPlay actually uses a more sophisticated jitter buffer that provides sample-accurate latency management and handles even large bursts of arriving packets without being “overrun”).
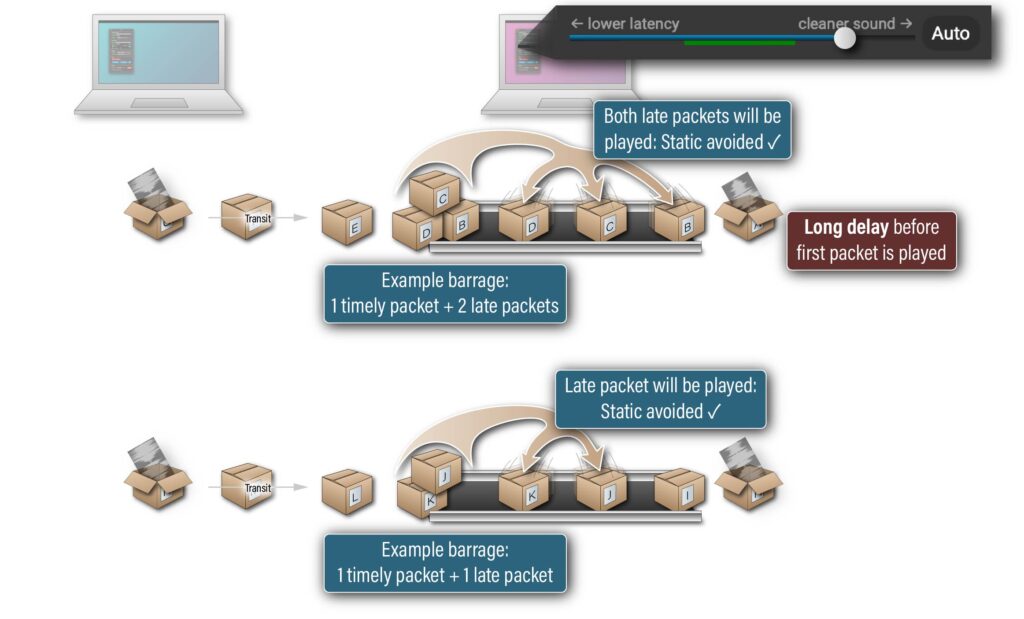
Dragging the latency slider toward the right
Dragging FarPlay’s latency slider toward the right makes FarPlay use a larger jitter buffer, which means there is a longer delay between the arrival and then playback of the first packet received. A larger jitter buffer makes latency higher. Occasionally, a transmission backlog somewhere along the route delays a cluster of packets “until the dam bursts” and the current and late packets arrive almost all at once in a barrage. In the example below, the late packets in the larger barrage and the late packet in the smaller barrage all have enough time to “hurry to their places” to be played because the jitter buffer is so big. None of these late packets is skipped. A large jitter buffer makes static rare.
Automatic and manual management of buffering latency
By default, FarPlay starts in Auto latency mode. Select your preferred balance of latency vs. clarity, and FarPlay automatically adjusts the buffering latency to try to keep the amount of static relatively constant (at the cost of occasional bursts in latency). The green bar indicates slider positions that give recommended combinations of latency and static. Auto latency mode zooms in to the green bar to make sure every slider position you can choose is a recommended position.
FarPlay is smart about how quickly these adjustments to buffering latency are made. Dragging the latency slider toward the right makes automatic reductions of buffering latency happen more slowly, prioritizing audio clarity. Dragging the latency slider toward the left makes automatic reductions of buffering latency happen more quickly, prioritizing immediacy.
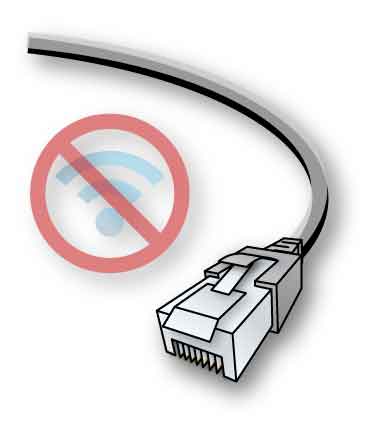
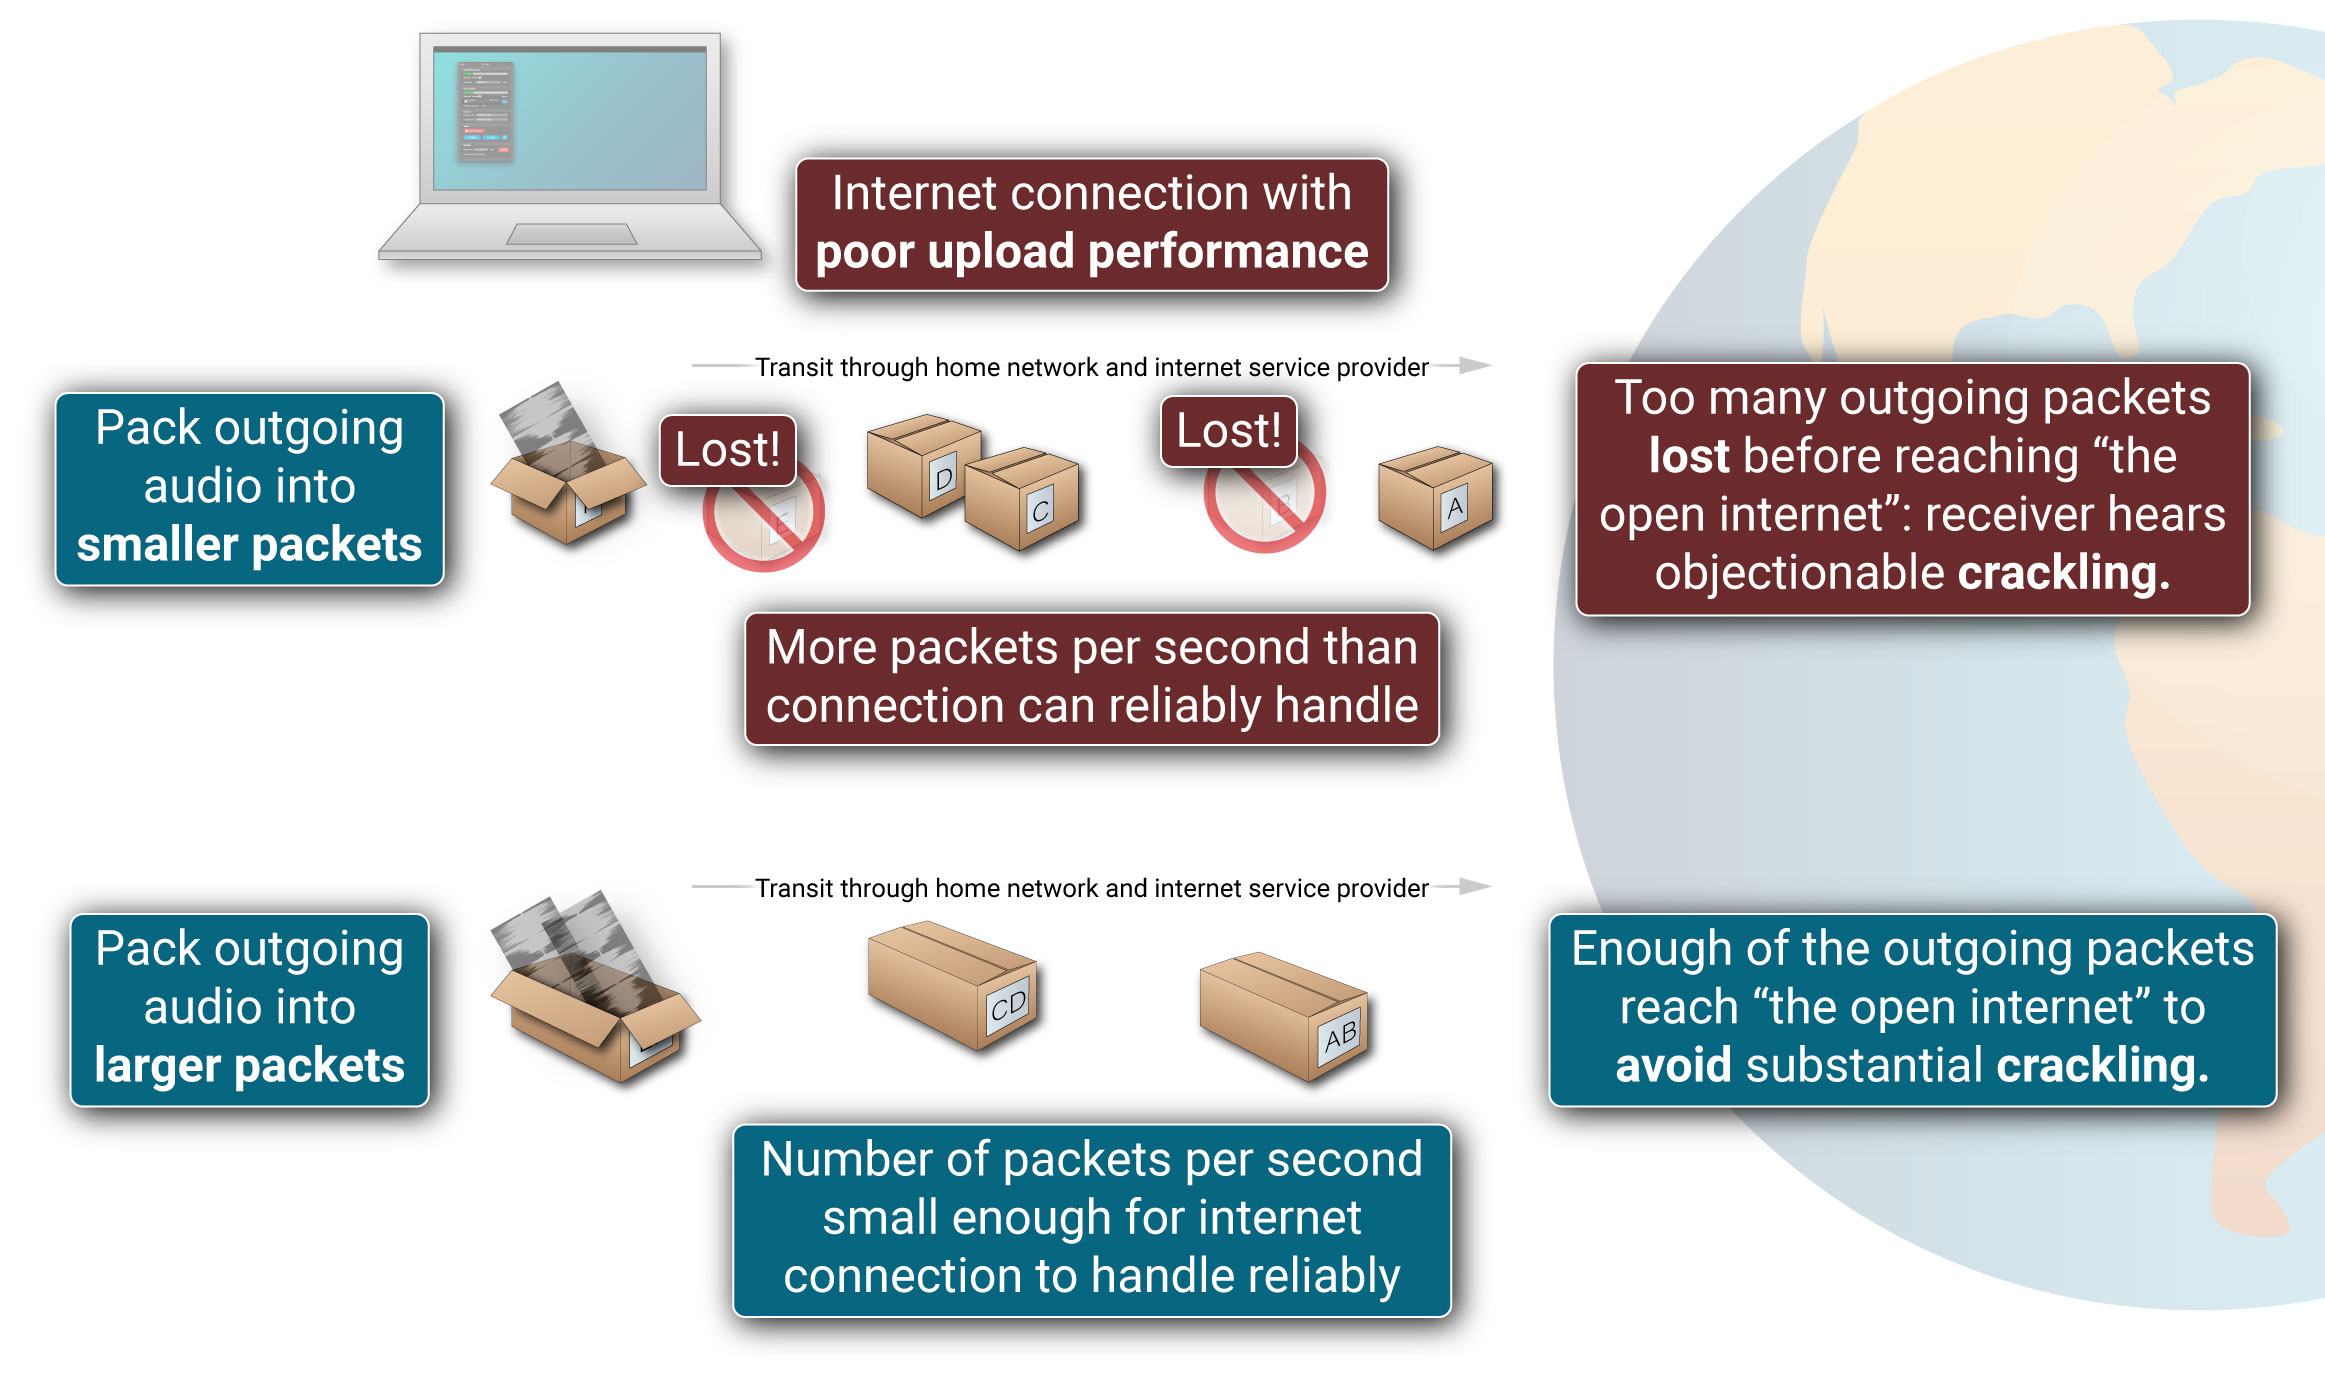
To understand how this improvement is realized, it helps to know that connections with poor upload performance—a residential cable connection with an upload speed of 10 Mbit/s, for example—often have difficulty keeping up with the large numbers of outgoing packets that FarPlay tries to transmit each second. A lot of packets end up undelivered, so the receiving end hears particularly noticeable crackling.