VIDEO
Start video
All FarPlay users have access to video calls with screensharing—no account needed! It’s easy: in the main FarPlay session window, click the Video button under Tools.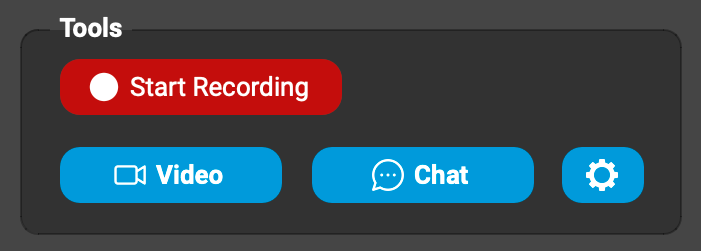 Once a video chat is started, an exclamation mark will appear on the Video button for other participants who haven’t joined the video chat yet.

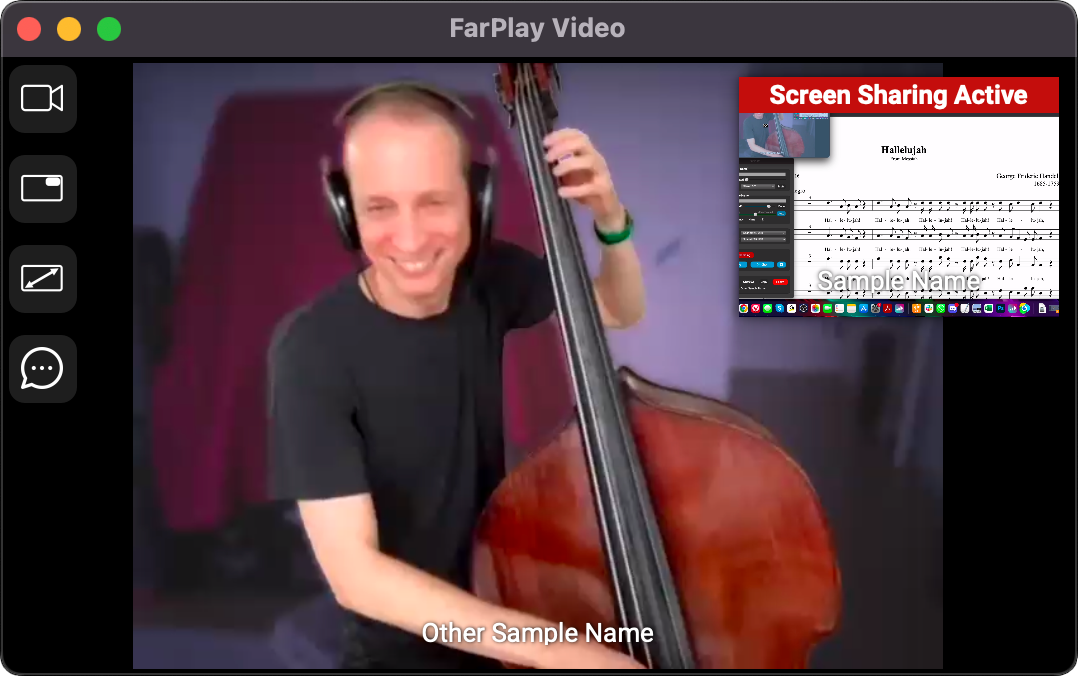
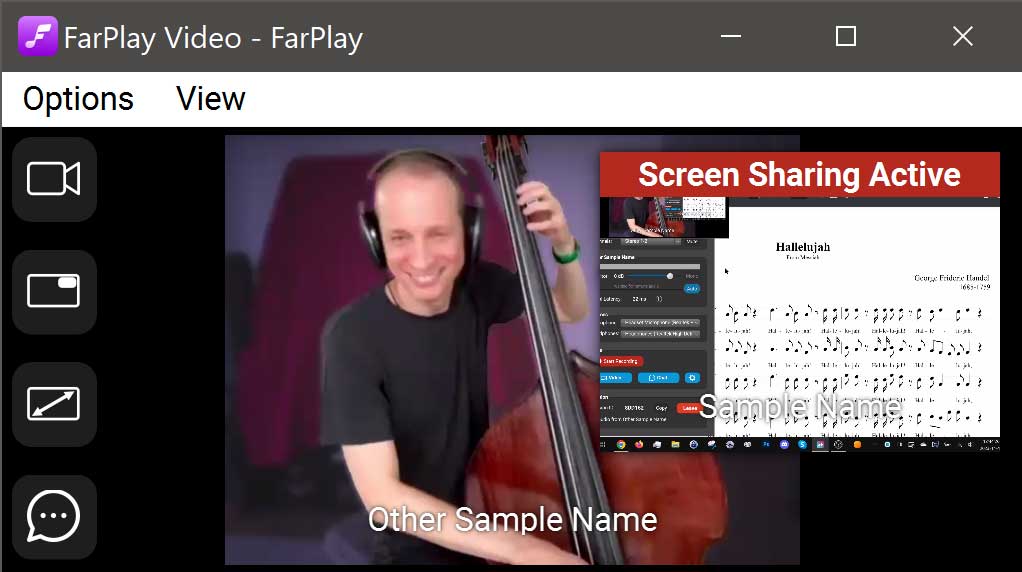
Four icons appear at the top-left corner of the FarPlay Video window.

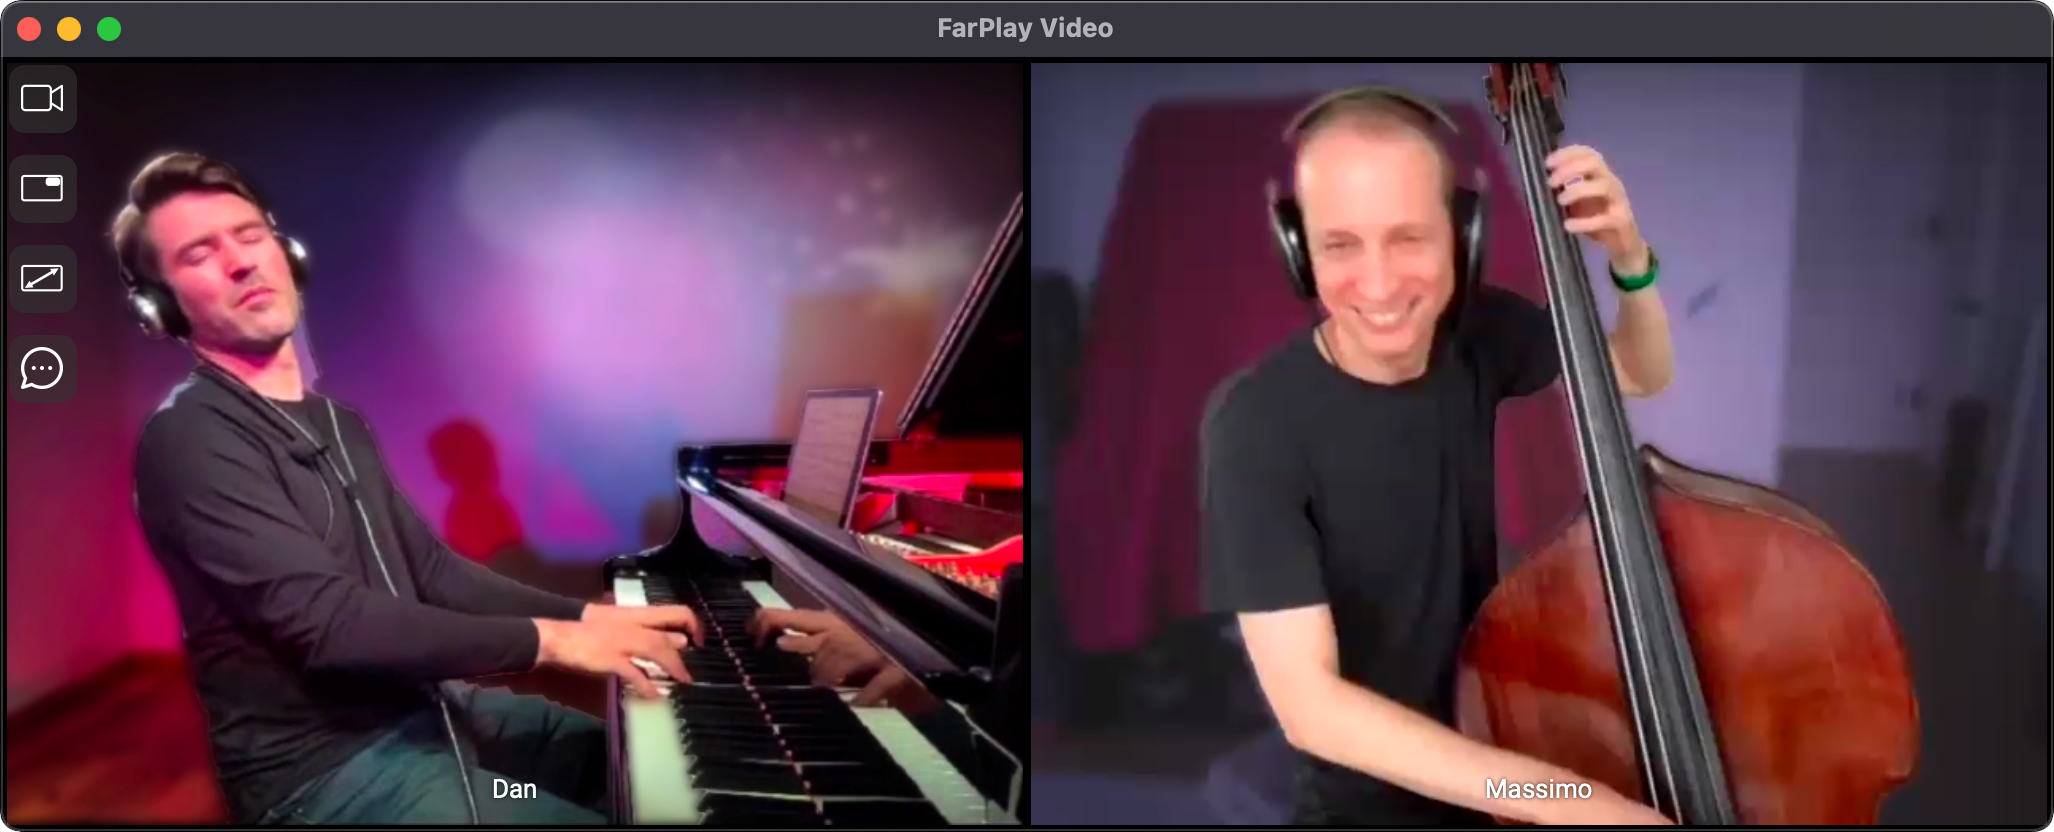
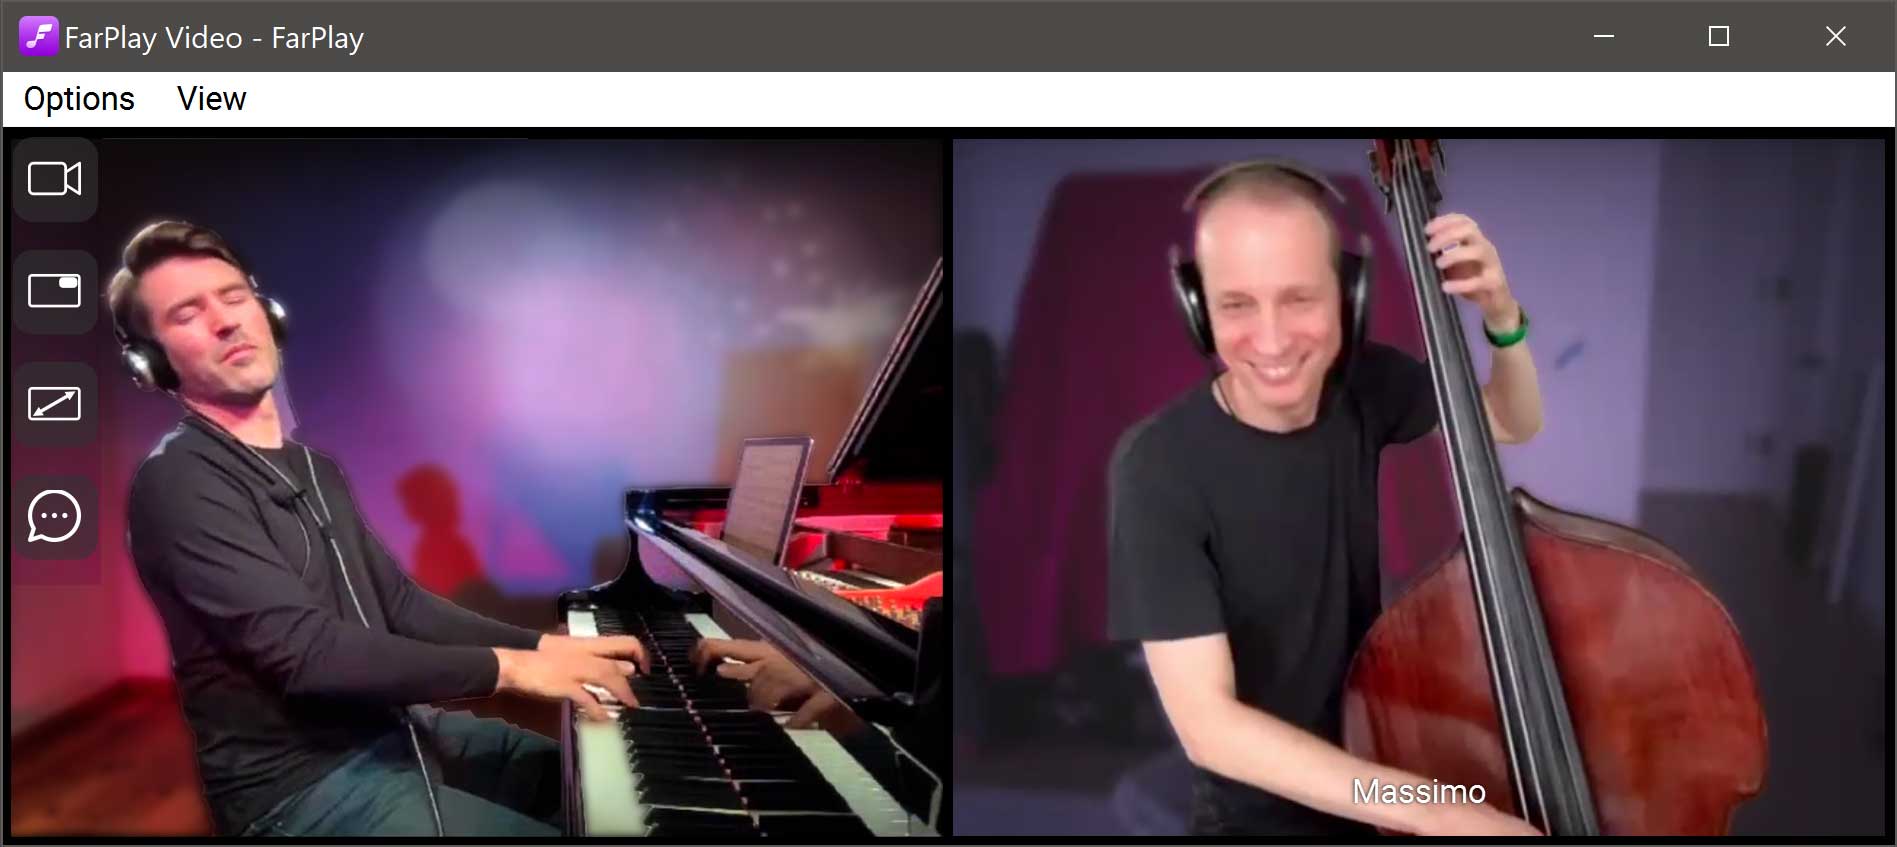
- Click the Camera icon
 to pick the webcam you want to use.
You can also switch cameras by clicking the Video menu and opening the Camera sub-menu.
to pick the webcam you want to use.
You can also switch cameras by clicking the Video menu and opening the Camera sub-menu.
- Click the Inset your video icon to shrink your video down to a small Picture-In-Picture inset so that more of your screen can be used to show video from other participants.
- Click the Maximize videos icon to enlarge and crop videos to fill as much screen space as possible.
- Click the Open chat icon to open a text chat window.
Share your screen
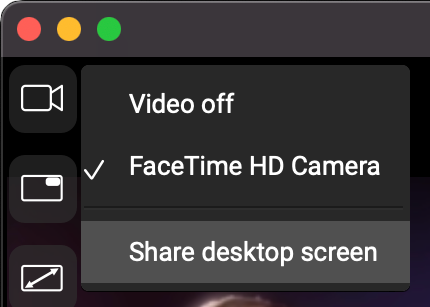
- Click the Camera icon and choose Share desktop screen.
You can also share your screen by clicking the Video menu, opening the Camera sub-menu, and choosing Share desktop screen.

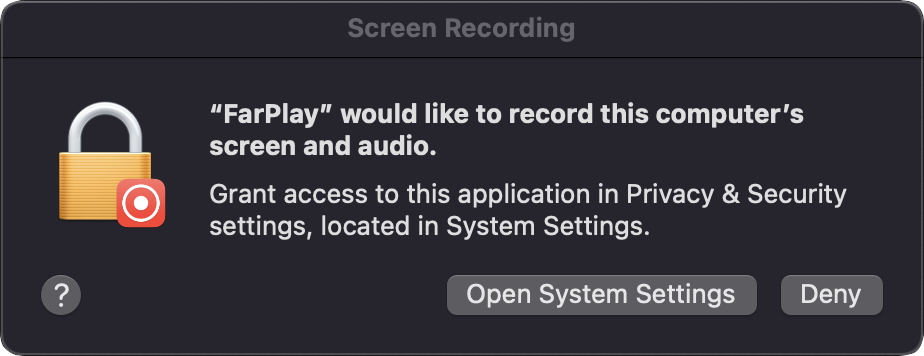
- If this is your first time using screen sharing in FarPlay, macOS will announce that FarPlay is trying to see the computer’s screen. Click Open System Settings.
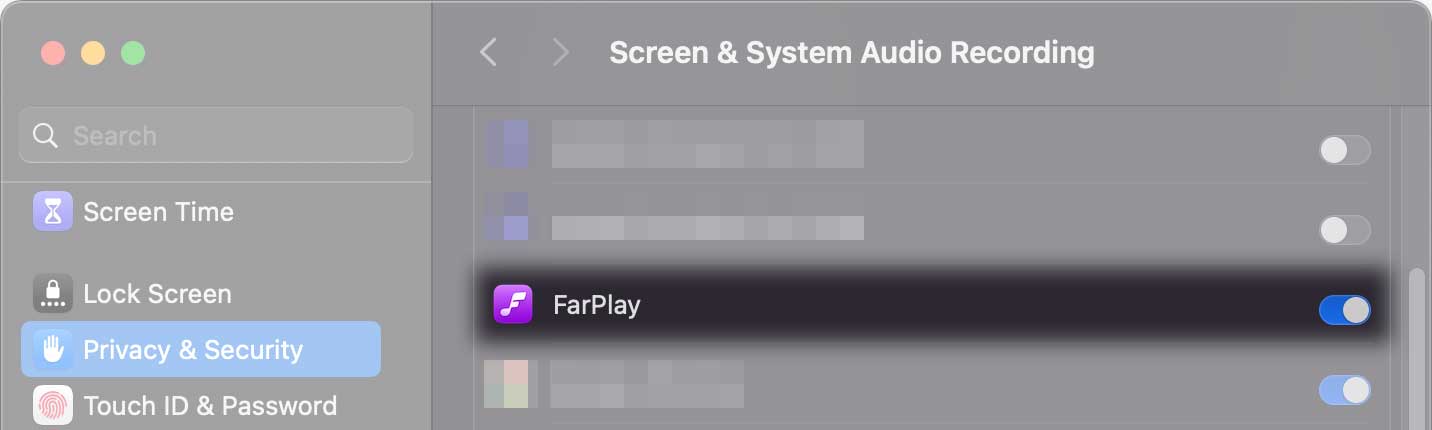
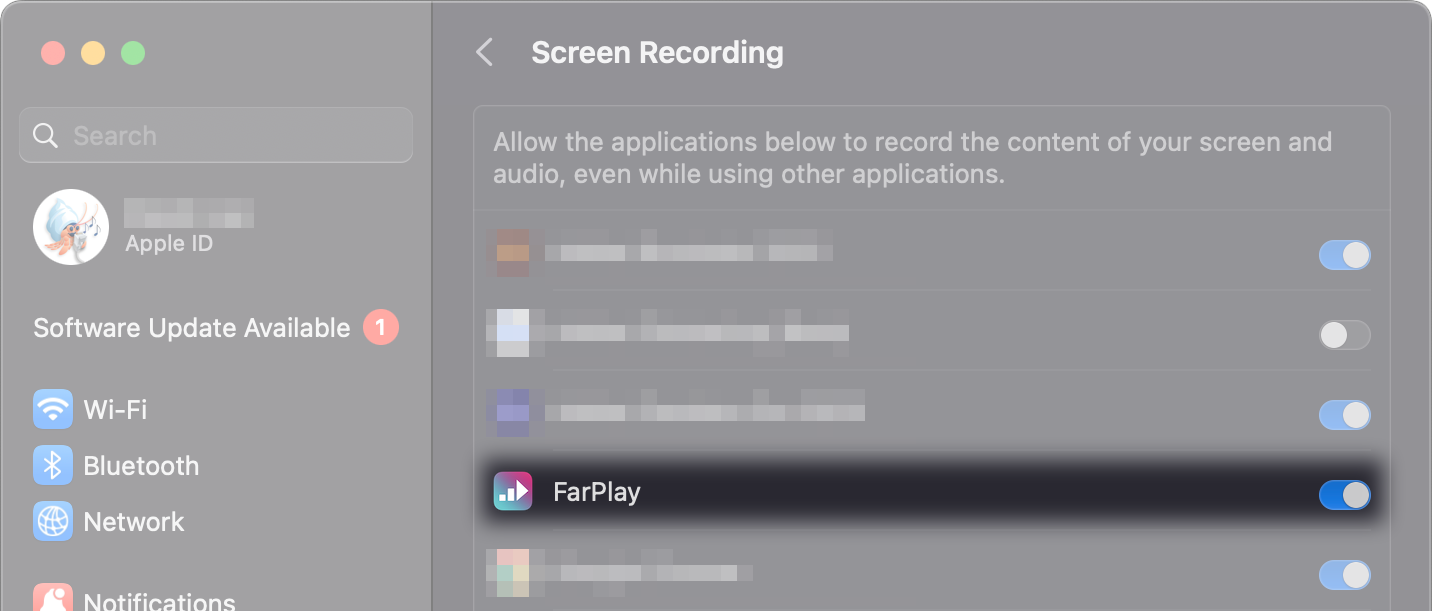
- In the macOS Screen Recording panel that appears, click the toggle switch to give FarPlay permission to see your screen.
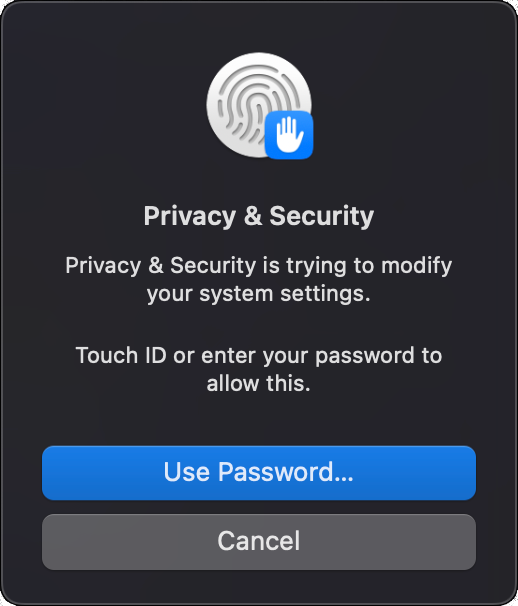
- When the Privacy & Security box that appears, use your password or Touch ID to allow your system to change FarPlay’s permission to see your screen.
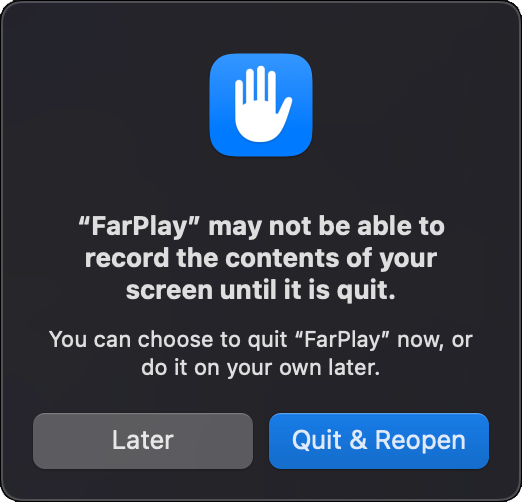
- A message then appears indicating that you might need to quit and reopen FarPlay for FarPlay to be able to see your screen. You actually don’t need to restart FarPlay! Click Later.
- In the macOS Screen Recording panel, the toggle switch for FarPlay should now be on.
- FarPlay is now sharing your screen, as indicated by the message, “ Screen Sharing Active .”
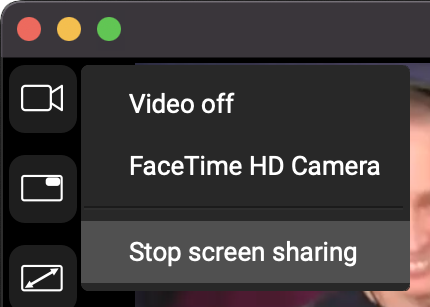
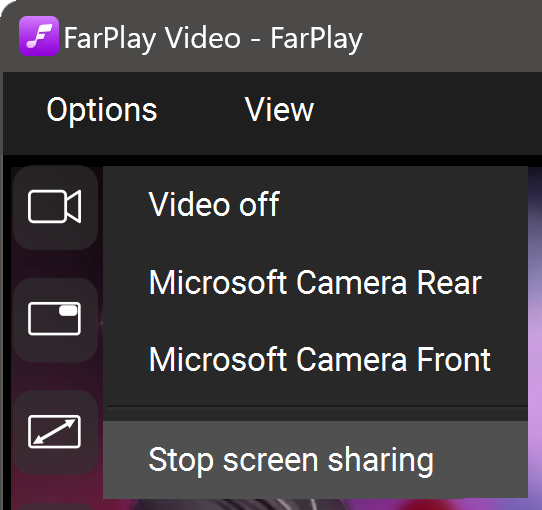
- To stop sharing your screen, click the Camera icon and choose Stop screen sharing.
You can also stop sharing your screen by clicking the Video menu, opening the Camera sub-menu, and choosing Stop screen sharing.
1. Adjust settings for video you send to others
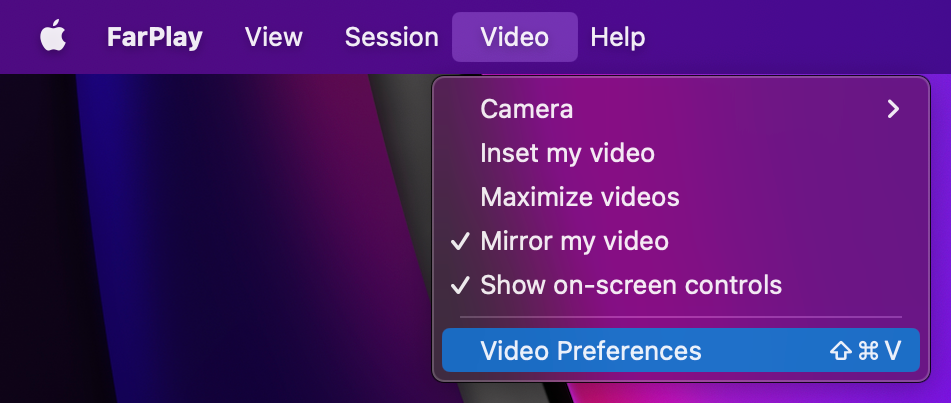
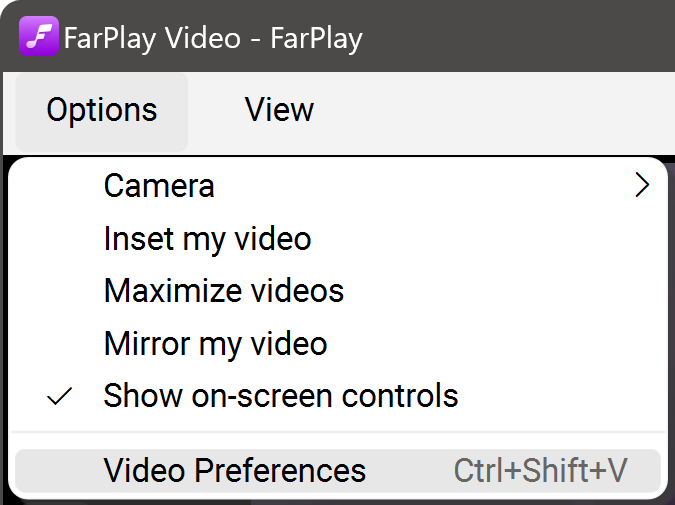
- Click FarPlay’s Video menu and choose Video Preferences.
- Use the Your max outgoing bandwidth: pull-down menu to change how much bandwidth you use to send video (600 kbps is great if you have at least 50 Mbit/s of upload speed; try 75 kbit/s or 150 kbit/s if you’re on a connection with less than 15 Mbit/s of upload speed).
- Use the Your max framerate (fps): pull-down menu to change the number of video frames you send each second (the default 30 fps gives smooth video).
- Use the Your max resolution (width in pixels): pull-down menu to adjust the resolution of the video you send (the default 640 works great for general use; try 320 if you’re using a video bandwidth of 75 kbit/s or 150 kbit/s).
- Use the Max bandwidth for screensharing: pull-down menu to adjust how much bandwidth you use to share your screen (use the default 2 Mbit/s if you have at least 50 Mbit/s of upload speed; if you have a connection with less than 15 Mbit/s of upload speed, use the least amount of bandwidth that lets others see your screen with acceptable quality).
- Use the Max framerate for screensharing: pull-down menu to change the number of video frames you send each second when sharing your screen (if you have a fast computer, say, from the last couple years, you can choose a framerate higher than the default 10 fps).
- Press OK to save changes.


- To go back to default settings, click Reset to Defaults.
2. Adjust how FarPlay video and screen sharing appear to you
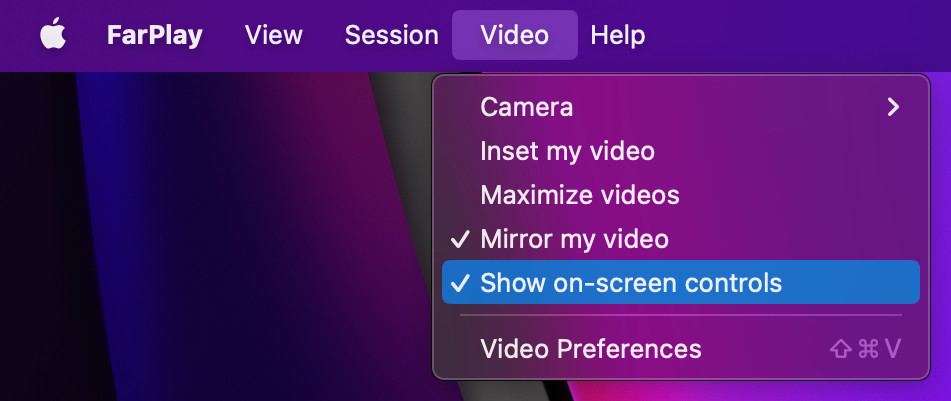
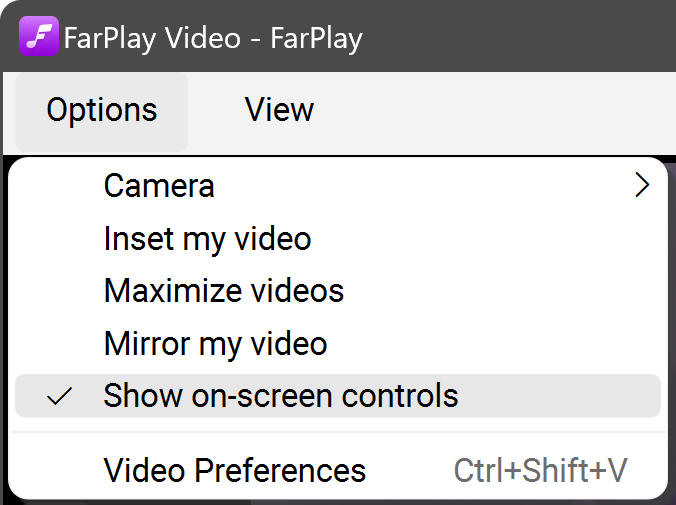
These settings don’t affect how your video appears to others.- If you’d like to change whether on-screen controls are shown in the video window, click the Video menu and check (or uncheck) “Show on-screen controls.”
- In the same menu, check (or uncheck) “Mirror my video“ if you’d like to change whether your video is mirrored.
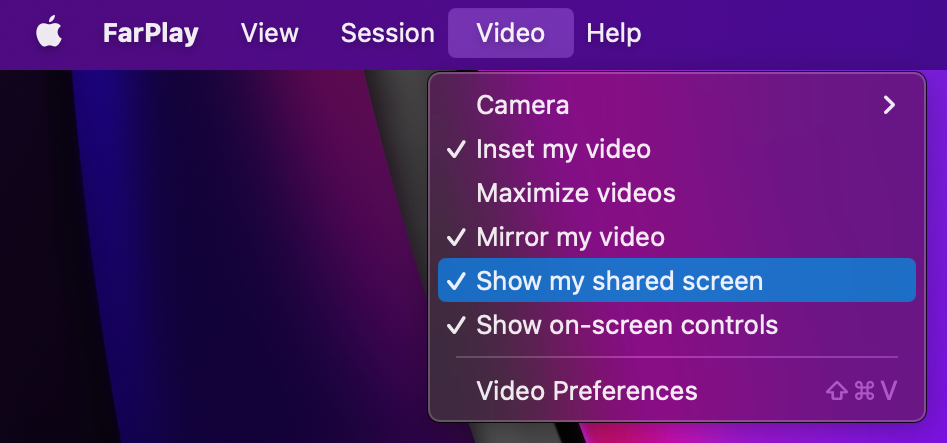
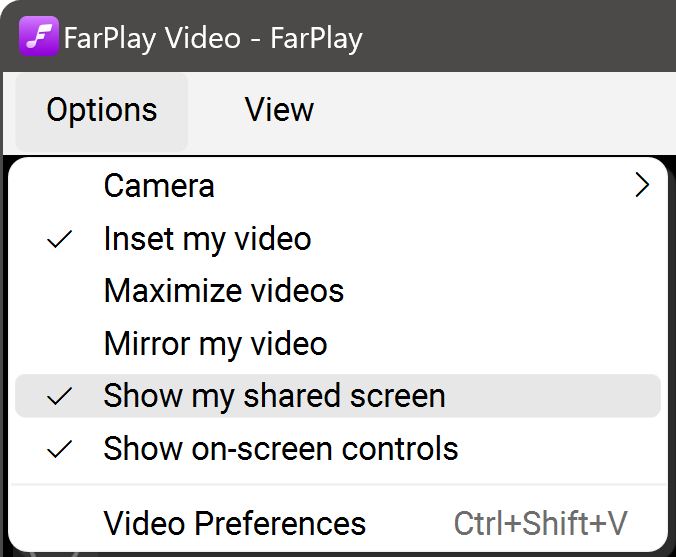
- If you’re currently sharing your screen, this menu also will include a “Show my shared screen” item that you can check (or uncheck) if you’d like to change whether you see a copy of your shared screen.
1. Start and stop recording
- Have participants start video (main FarPlay session window > Tools > Video button) as usual.
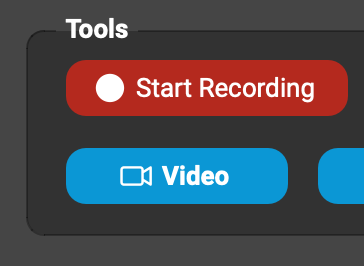
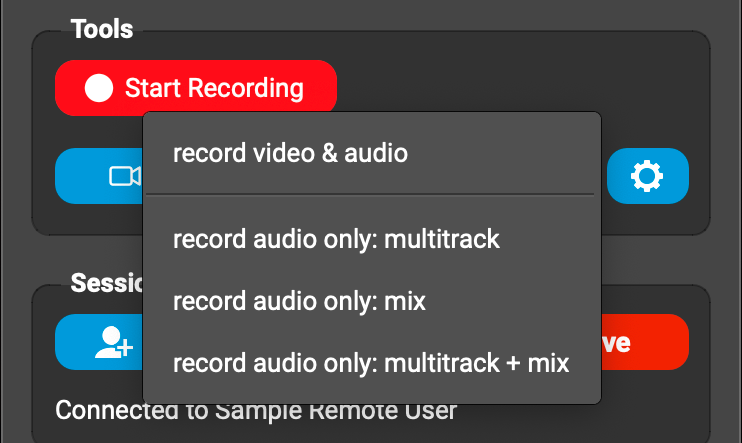
- Click the Start Recording button under Tools. Choose record video & audio.
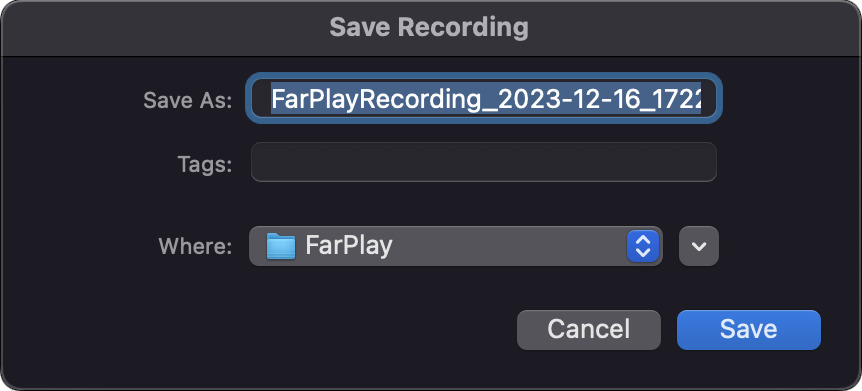
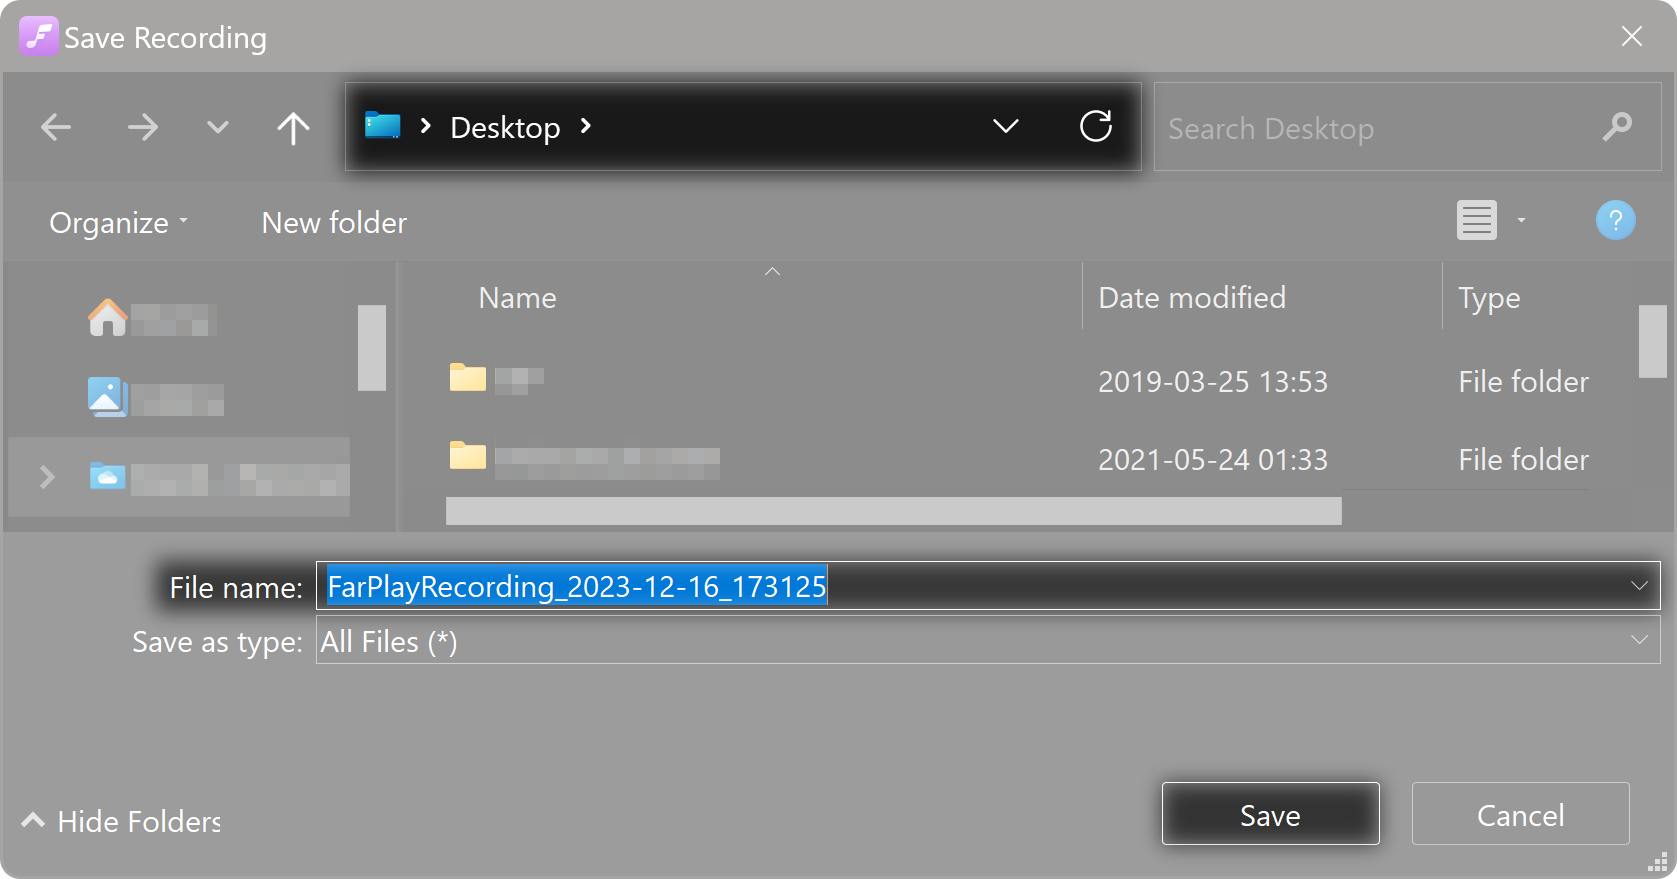
- Choose a folder and filename for your recordings, then click Save.
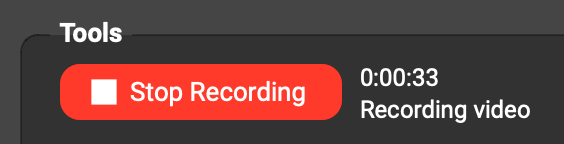
A timer will indicate the running length of the recorded video in the Tools section.
If you’re using FarPlay 1.2.4 or higher, the other participants using FarPlay 1.2.4 or higher in the session will be notified that you’re recording. Learn more about recording warnings here.
 If you’re using FarPlay 1.2.4 or higher, the other participants using FarPlay 1.2.4 or higher in the session will be notified that you’re recording. Learn more about recording warnings here.
- When you’re done recording, click Stop Recording.
2. Export video
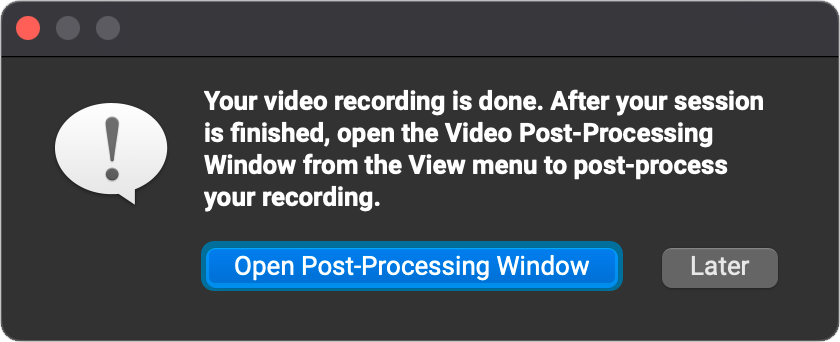
- In the window that appears, click Open Post-Processing Window if you want to browse a list of video recordings available for export right now.
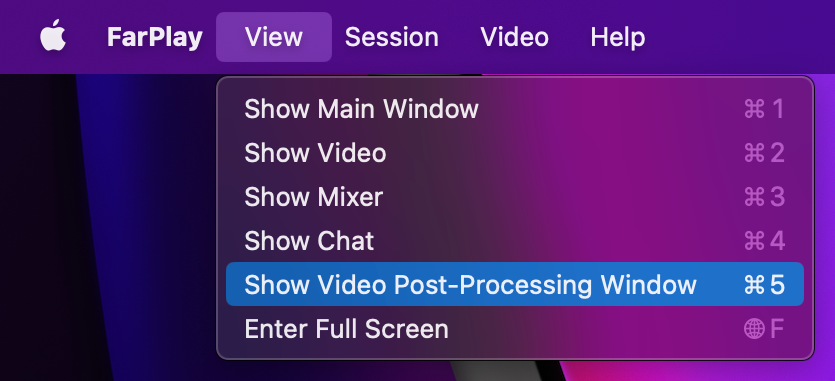
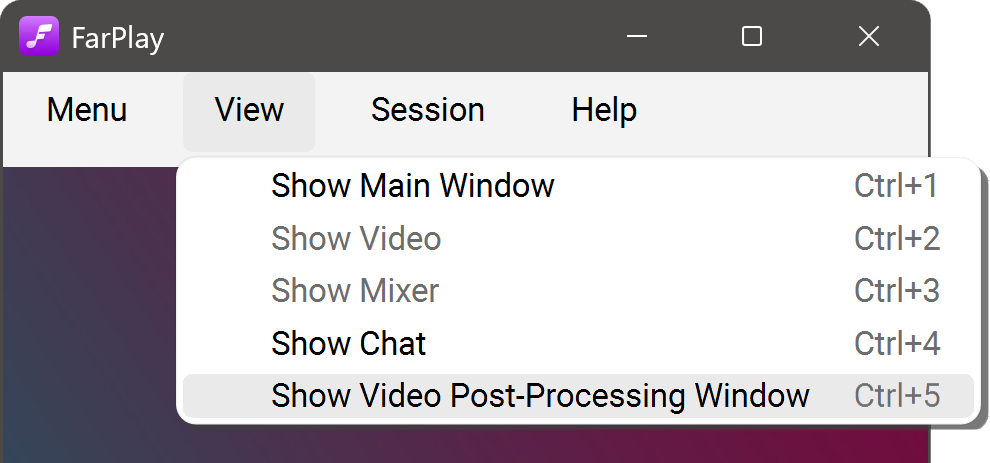
- If, instead, you click Later, go to the Post-Processing window by clicking on FarPlay’s View menu, then click on Show Video Post-Processing Window.
- To queue a video recording for export, click the Process button in that recording’s row.


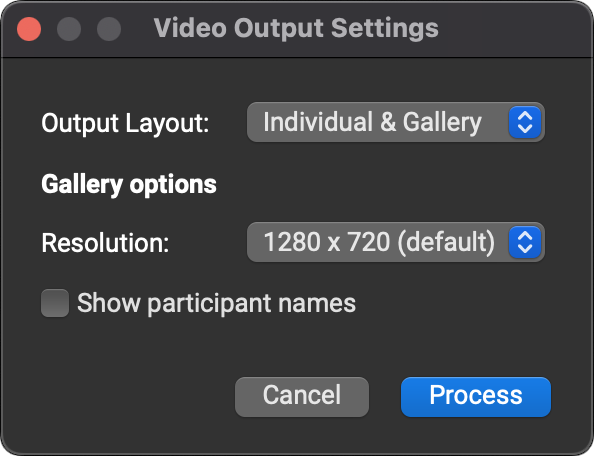
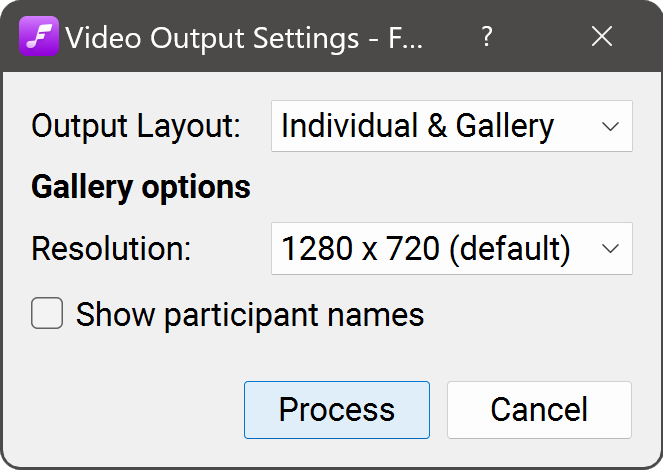
- Use the Output Layout: pull-down menu to choose among Gallery (single video file shows multiple participant video feeds at the same time), Individual (one video file for each video participant), or both Individual & Gallery. Individual and Individual & Gallery options require a Standard+ subscription or a multitrack video recording from a session created by a FarPlay For Teachers subscriber.
- Use the Resolution: pull-down menu to select the resolution of gallery video. The default of 1280 x 720 is good for general purposes. The vertical 1080 x 1920 format is great for sharing on social media.
- Check the Show participant names checkbox if you’d like to label the individual video feeds in exported gallery video with participant names.
- Click Process.


When you Leave a session, FarPlay will start converting video data having the status “Awaiting Session End” into an .mp4 format that other applications can use. File conversion progress is shown in the Status column.


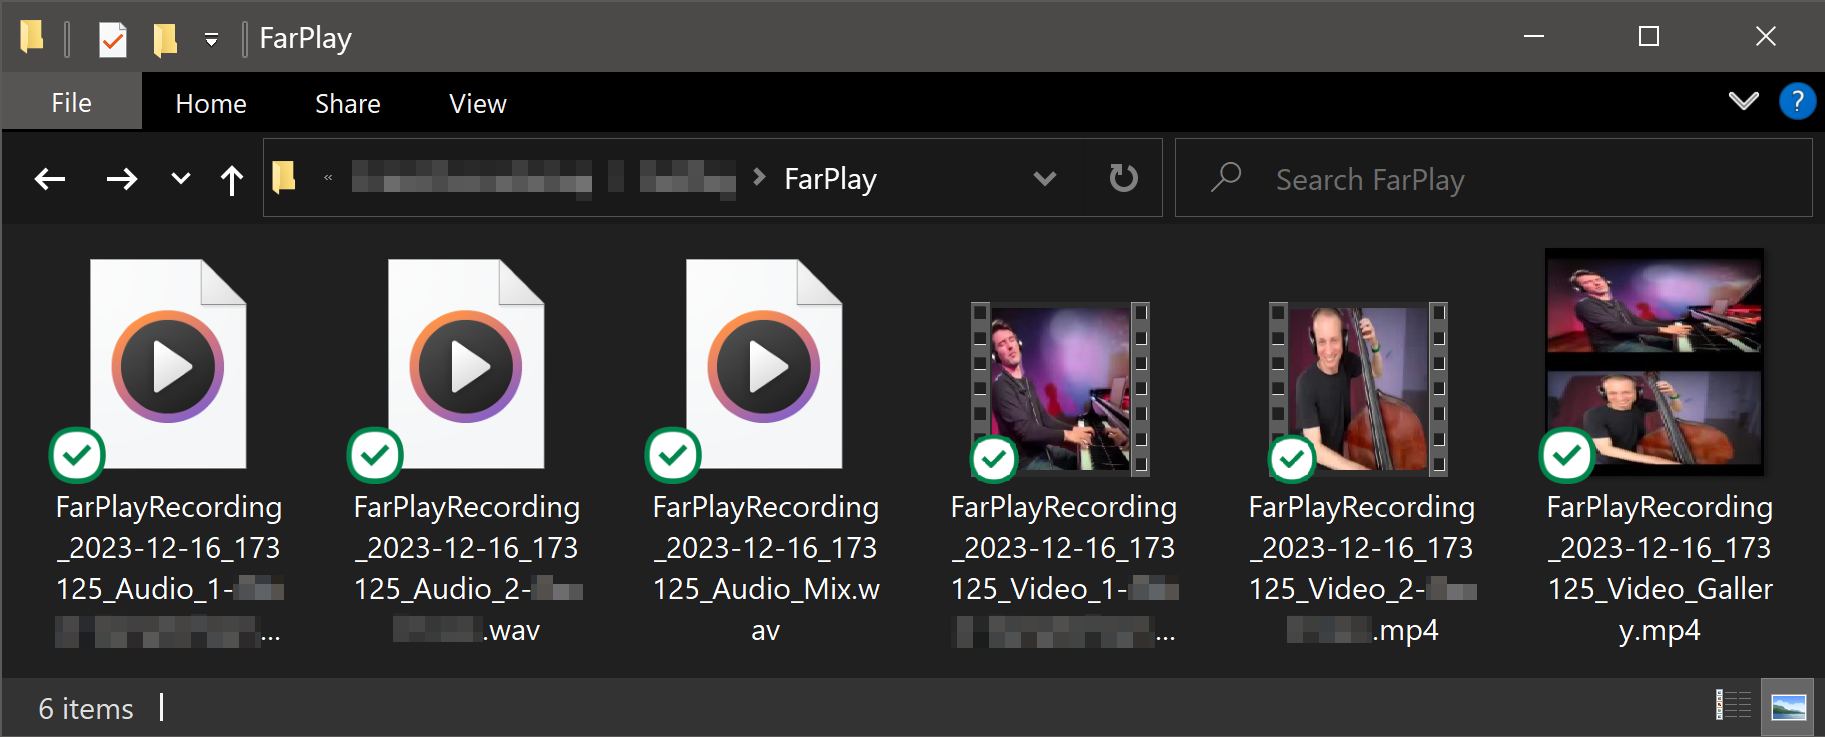
3. Go to your exported video and audio files
- When post-processing for a video recording is complete, the progress bar is replaced by a Status that reads Processed. Clicking the Go To button opens the folder in which the corresponding exported audio and video tracks have been saved.
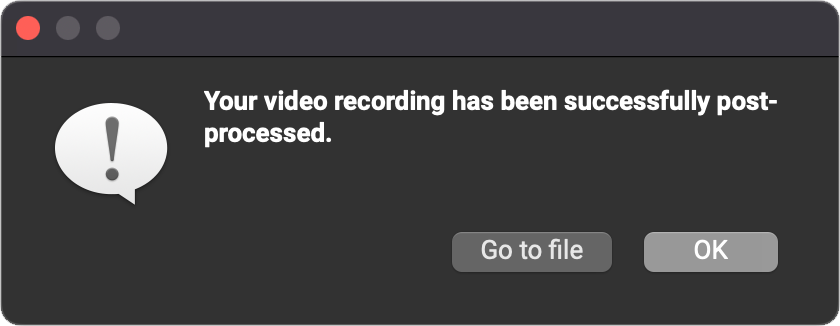
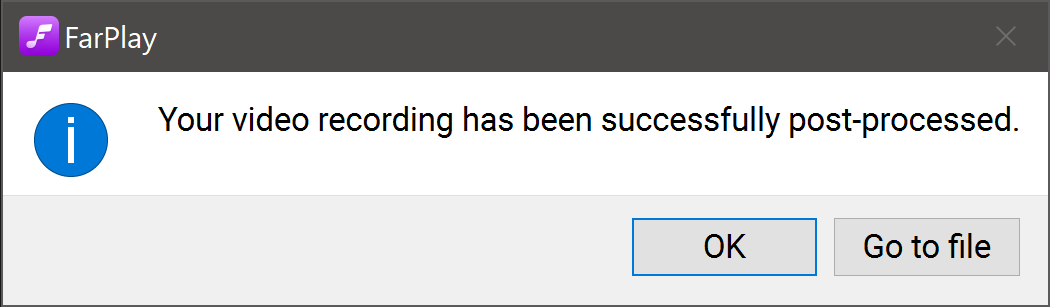
- If post-processing of a video is completed while the FarPlay Video Post-Processing window is in the background, a window pops up to announce that “Your video recording has been successfully post-processed.” Click Go to file to open the folder containing your exported video and audio tracks.


5. Using exported video
Your exported gallery video is ready for distribution using file sharing services, social media, etc.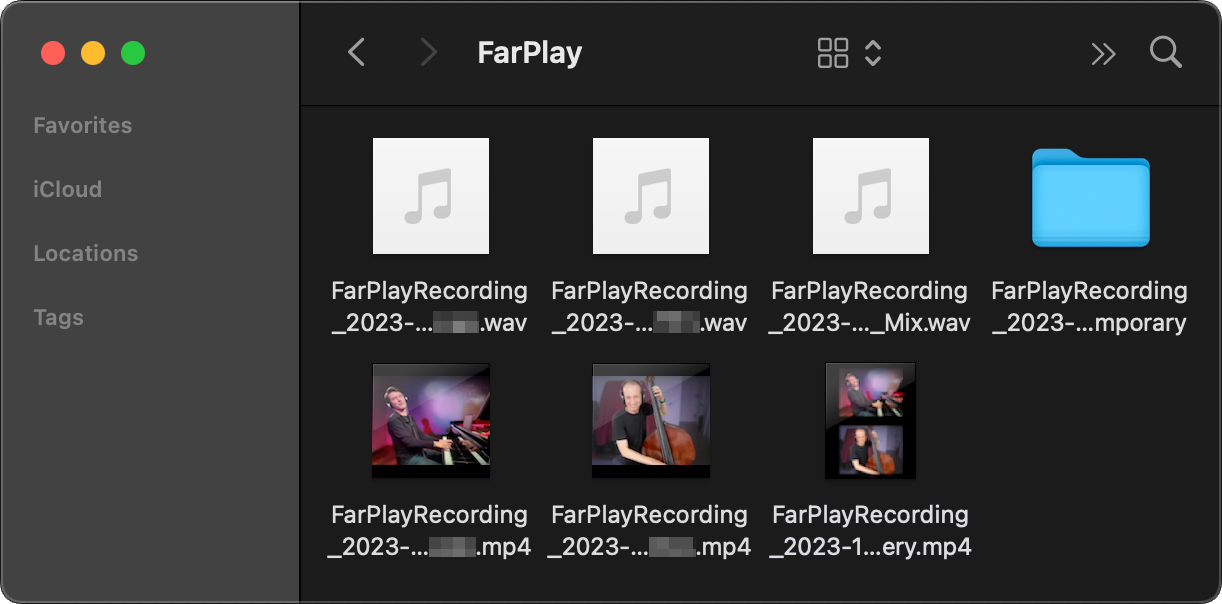 You can combine the individual video tracks for individual participants (provided to Standard+ subscribers) into split-screen (or other) arrangements using a video editing application.
- If you just want to make your first video quickly and inexpensively, try the browser-based Canva.
- If you prefer to use an application you download and install, try DaVinci Resolve (1-minute tutorial), Adobe Premiere Pro (2-minute tutorial), Adobe Premiere Elements, or, for example, Final Cut Pro (1-minute tutorial).