Deauthorizing a device
- Log in to your account at https://farplay.io/login.
- In the list of Authorized devices, find the device you want to deauthorize and click its Deauthorize This Device button.
Creating a Persistent Room
FarPlay features
Persistent Rooms, allowing you to use a permanent, dedicated invitation link for all your sessions. You also have the option of creating a one-time invitation link if you prefer. This feature is particularly useful for teachers, who can give students their Persistent Room’s invitation link once and
keep using it for
as many sessions as they’d like.
Persistent Rooms are available to
subscribers.
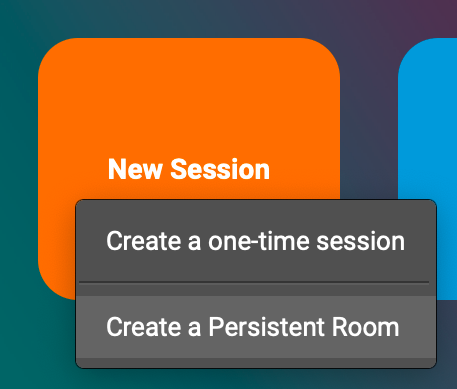
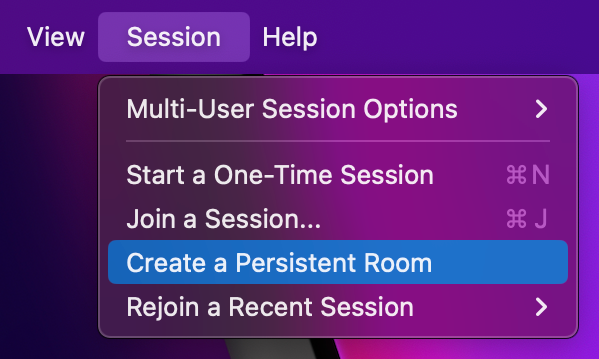
- To create your first Persistent Room, click the New Session button on the welcome screen and choose Create a Persistent Room.
 Alternatively, click the Session menu and choose Create a Persistent Room there.
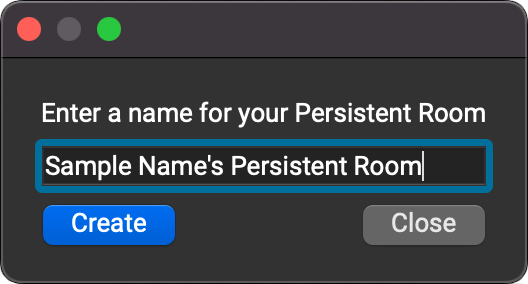
- You’ll be shown a possible name for your Persistent Room. Edit it, if you’d like. Then, press Create.
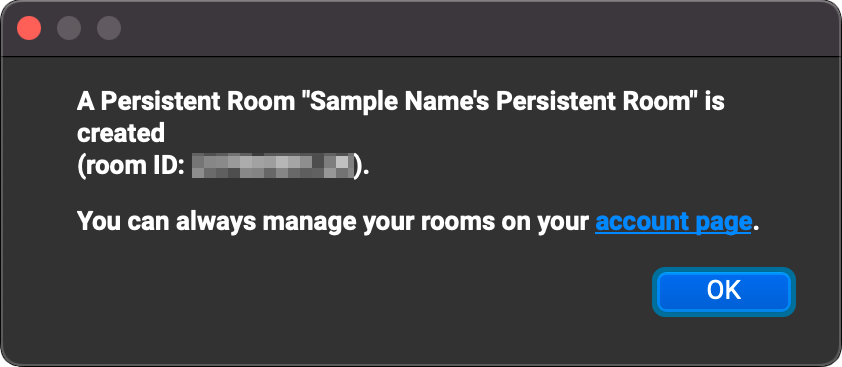
- After the confirmation message for the creation of your Persistent Room appears, press OK to go to your new Persistent Room.
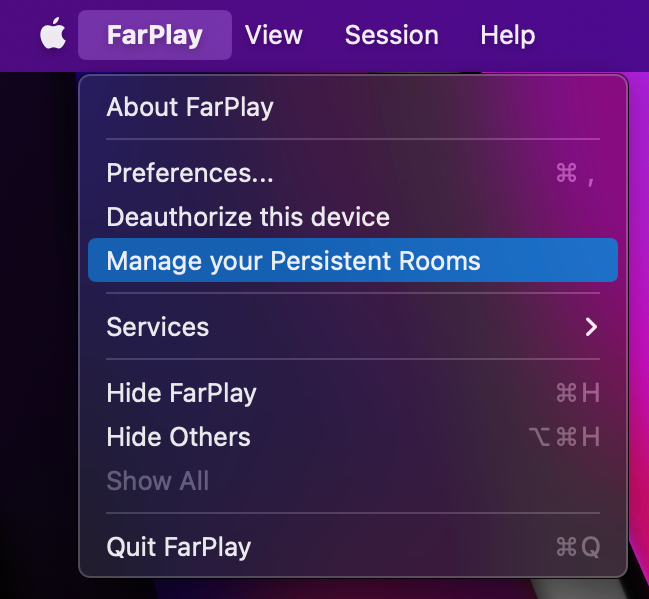
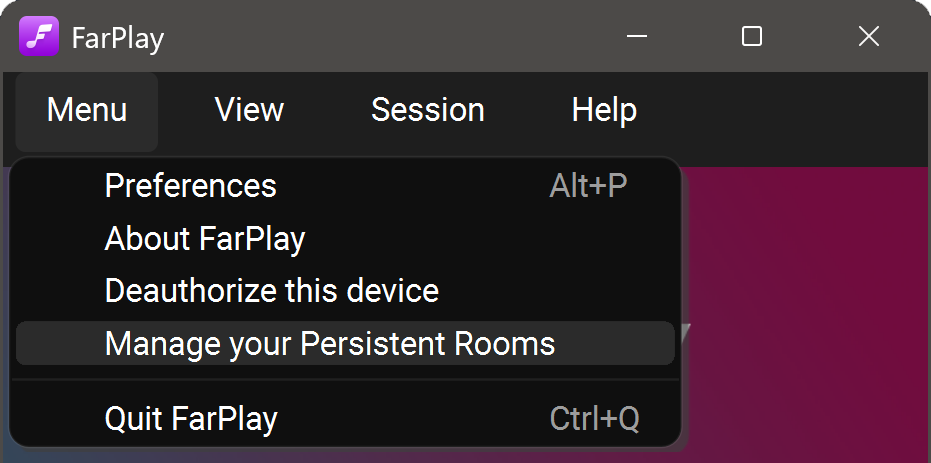
- To rename, delete, and create Persistent Rooms, click the FarPlay Menu and choose Manage your Persistent Rooms.
Mac:
Windows:
- You’ll be brought to your Account Preferences page. Look for the section called Persistent Rooms.
- Click Create my Persistent Room or Add a new Persistent Room to create a new Persistent Room.
- To change the name of the room, type in the room’s Room Name box and click Save Changes.
- If you want participants in the Waiting Room to stay there when you start a session in your Persistent Room, check the Locked by default checkbox and click Save Changes. Leave this checkbox blank if you prefer to bring everyone in the Waiting Room into your Persistent Room as soon as you start a Persistent Room session.
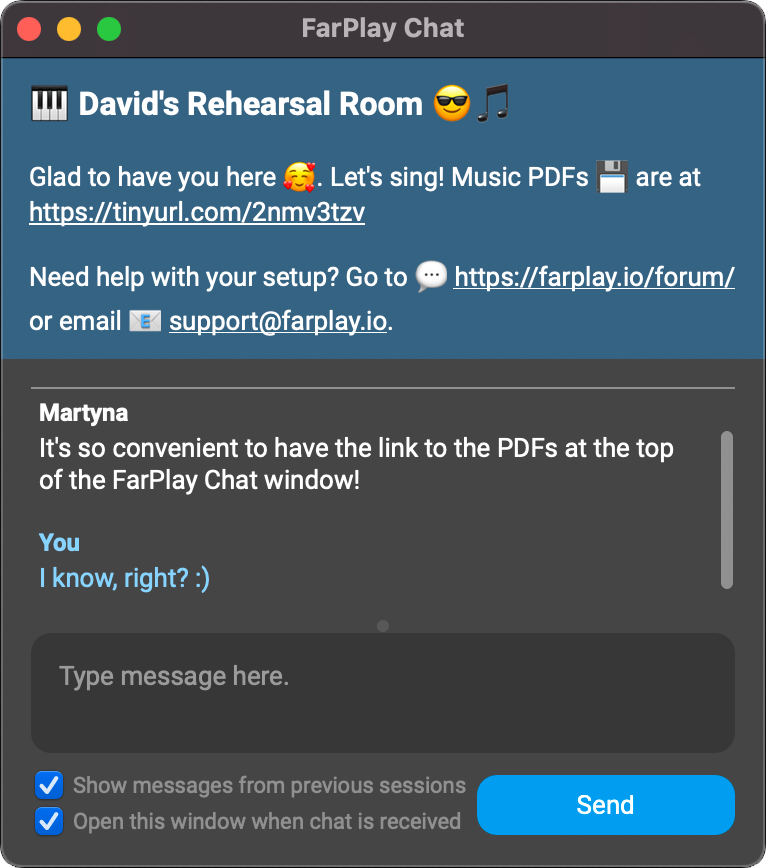
- To personalize the chat window in your Persistent Room, click the Edit Chat Banner button. In the dialog box that appears, fill in the Banner Title and Banner Text and then press Save Changes. Feel free to include emojis, email addresses, and websites in the banner text — great for keeping music PDFs handy! Your updated banner will be shown at the top of the FarPlay Chat window to all users who join your room using FarPlay 1.3.2 and above.
- If you no longer want to use a particular Persistent Room ID, click its Delete Room button and then click Delete again when asked to confirm that you want to delete your room. You can create a new Persistent Room in its place.
- If you have a Standard or Standard+ subscription, you can create 1 Persistent Room. If you subscribe to FarPlay For Teachers, you can create 10 Persistent Rooms. This is great if you want to give different students different invitation links. For all subscriptions, you can only have 1 active session at a time.
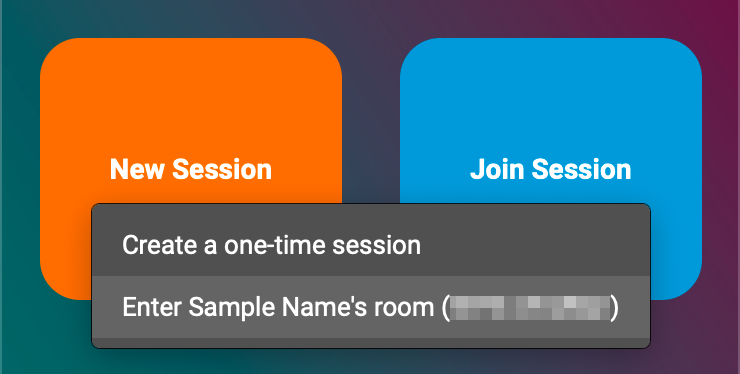
- Once you’ve created your first Persistent Room, the menu that appears when you click New Session in the FarPlay app will let you choose between entering your Persistent Room or creating a one-time session:
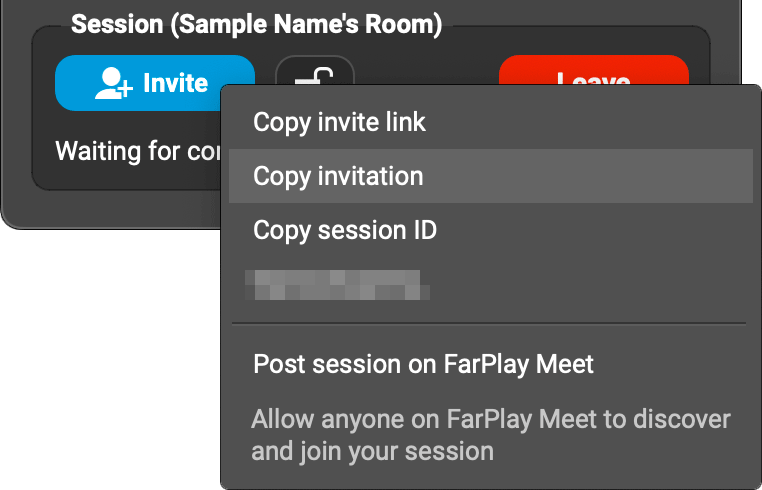
When you’re in your Persistent Room, you can copy an invitation message to share with other participants:
- Find the Session section at the bottom of FarPlay’s main window, click the Invite button, and choose Copy invitation.
Using the Waiting Room
If a participant arrives before you’ve started a session in your Persistent Room, they’ll be shown a message telling them to wait for you to start the session.
If you want participants in the Waiting Room to stay there when you start a session in your Persistent Room, go to your room’s listing in
Account Preferences, check its
Locked by default checkbox, and click
Save Changes. Leave this checkbox blank if you prefer to bring everyone in the Waiting Room into your Persistent Room as soon as you start a Persistent Room session.
You can turn the waiting room on and off when you’re in your Persistent Room.
- Enter your Persistent Room (see previous section).
In the
Session section near the bottom of FarPlay’s main window, the
unlocked padlock indicates that participants will join your session immediately upon arrival.
- Click the padlock to lock the session. Participants will be sent to the Waiting Room when they arrive.
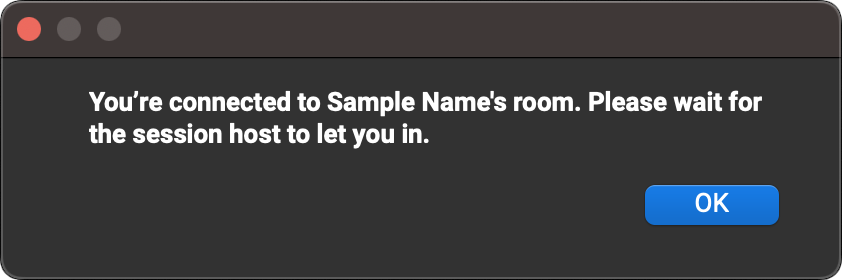
When a participant arrives, they are shown a dialog box that tells them they’ve connected to your room and to wait for the session host to let them in.
When they press OK, the
Session section in their copy of FarPlay reads, “
Waiting for connection…” until you choose to admit or deny them entry.
Note: If the participant is using FarPlay 1.2.3 or older, the dialog box telling them to wait to be let in won’t appear. Instead, they’ll go directly to the session window and be shown the “Waiting for connection…” message.
On your end, FarPlay pops up the
Waiting Room window.
- Uncheck the “Pop up this window when new participants arrive” checkbox if you don’t want the Waiting Room window to pop up each time a participant arrives when your session is locked.
- Under “A participant is waiting to be admitted” (“Participants are waiting to be admitted”), select the participant(s) you want to admit. Click Admit. The admitted guest(s) will join your session immediately.
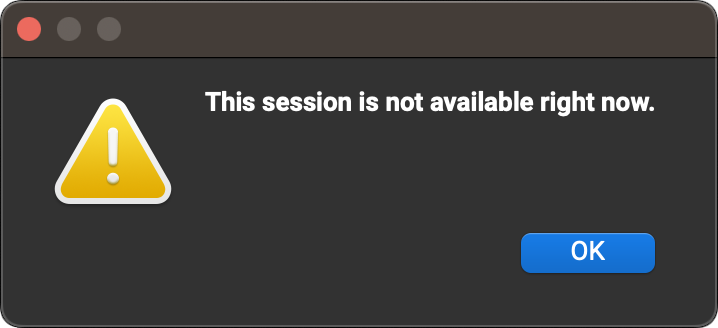
- To deny entry to the selected participant(s), click the Deny button. On their end, they’ll see a dialog box that reads, “This session is not available right now.”
If you close the Waiting Room window without choosing to Admit or Deny any participants, the number of
participants in the Waiting Room will remain unchanged and will be tracked by the
red badge on the padlock icon.
- Click padlock with the badge to open the Waiting Room window.
- If the Waiting Room is empty (no red badge), click the locked icon to unlock the session.
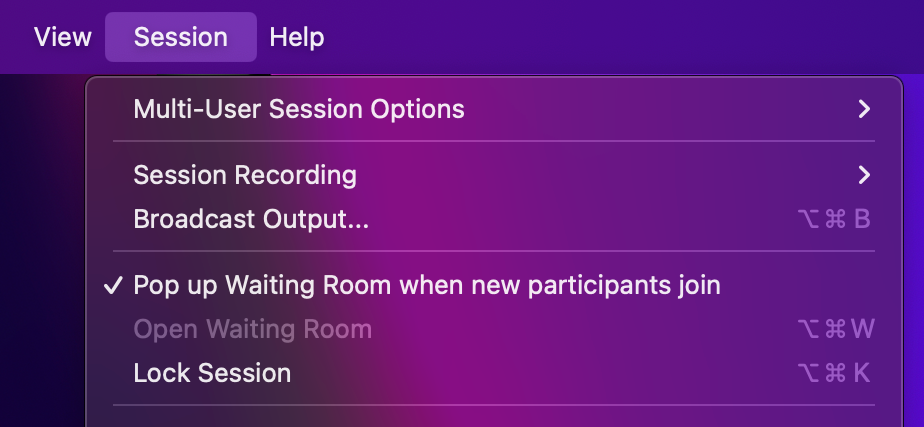
When the Waiting Room is empty, you can still use FarPlay’s
Session menu to change whether the Waiting Room pops up automatically each time a participant arrives.
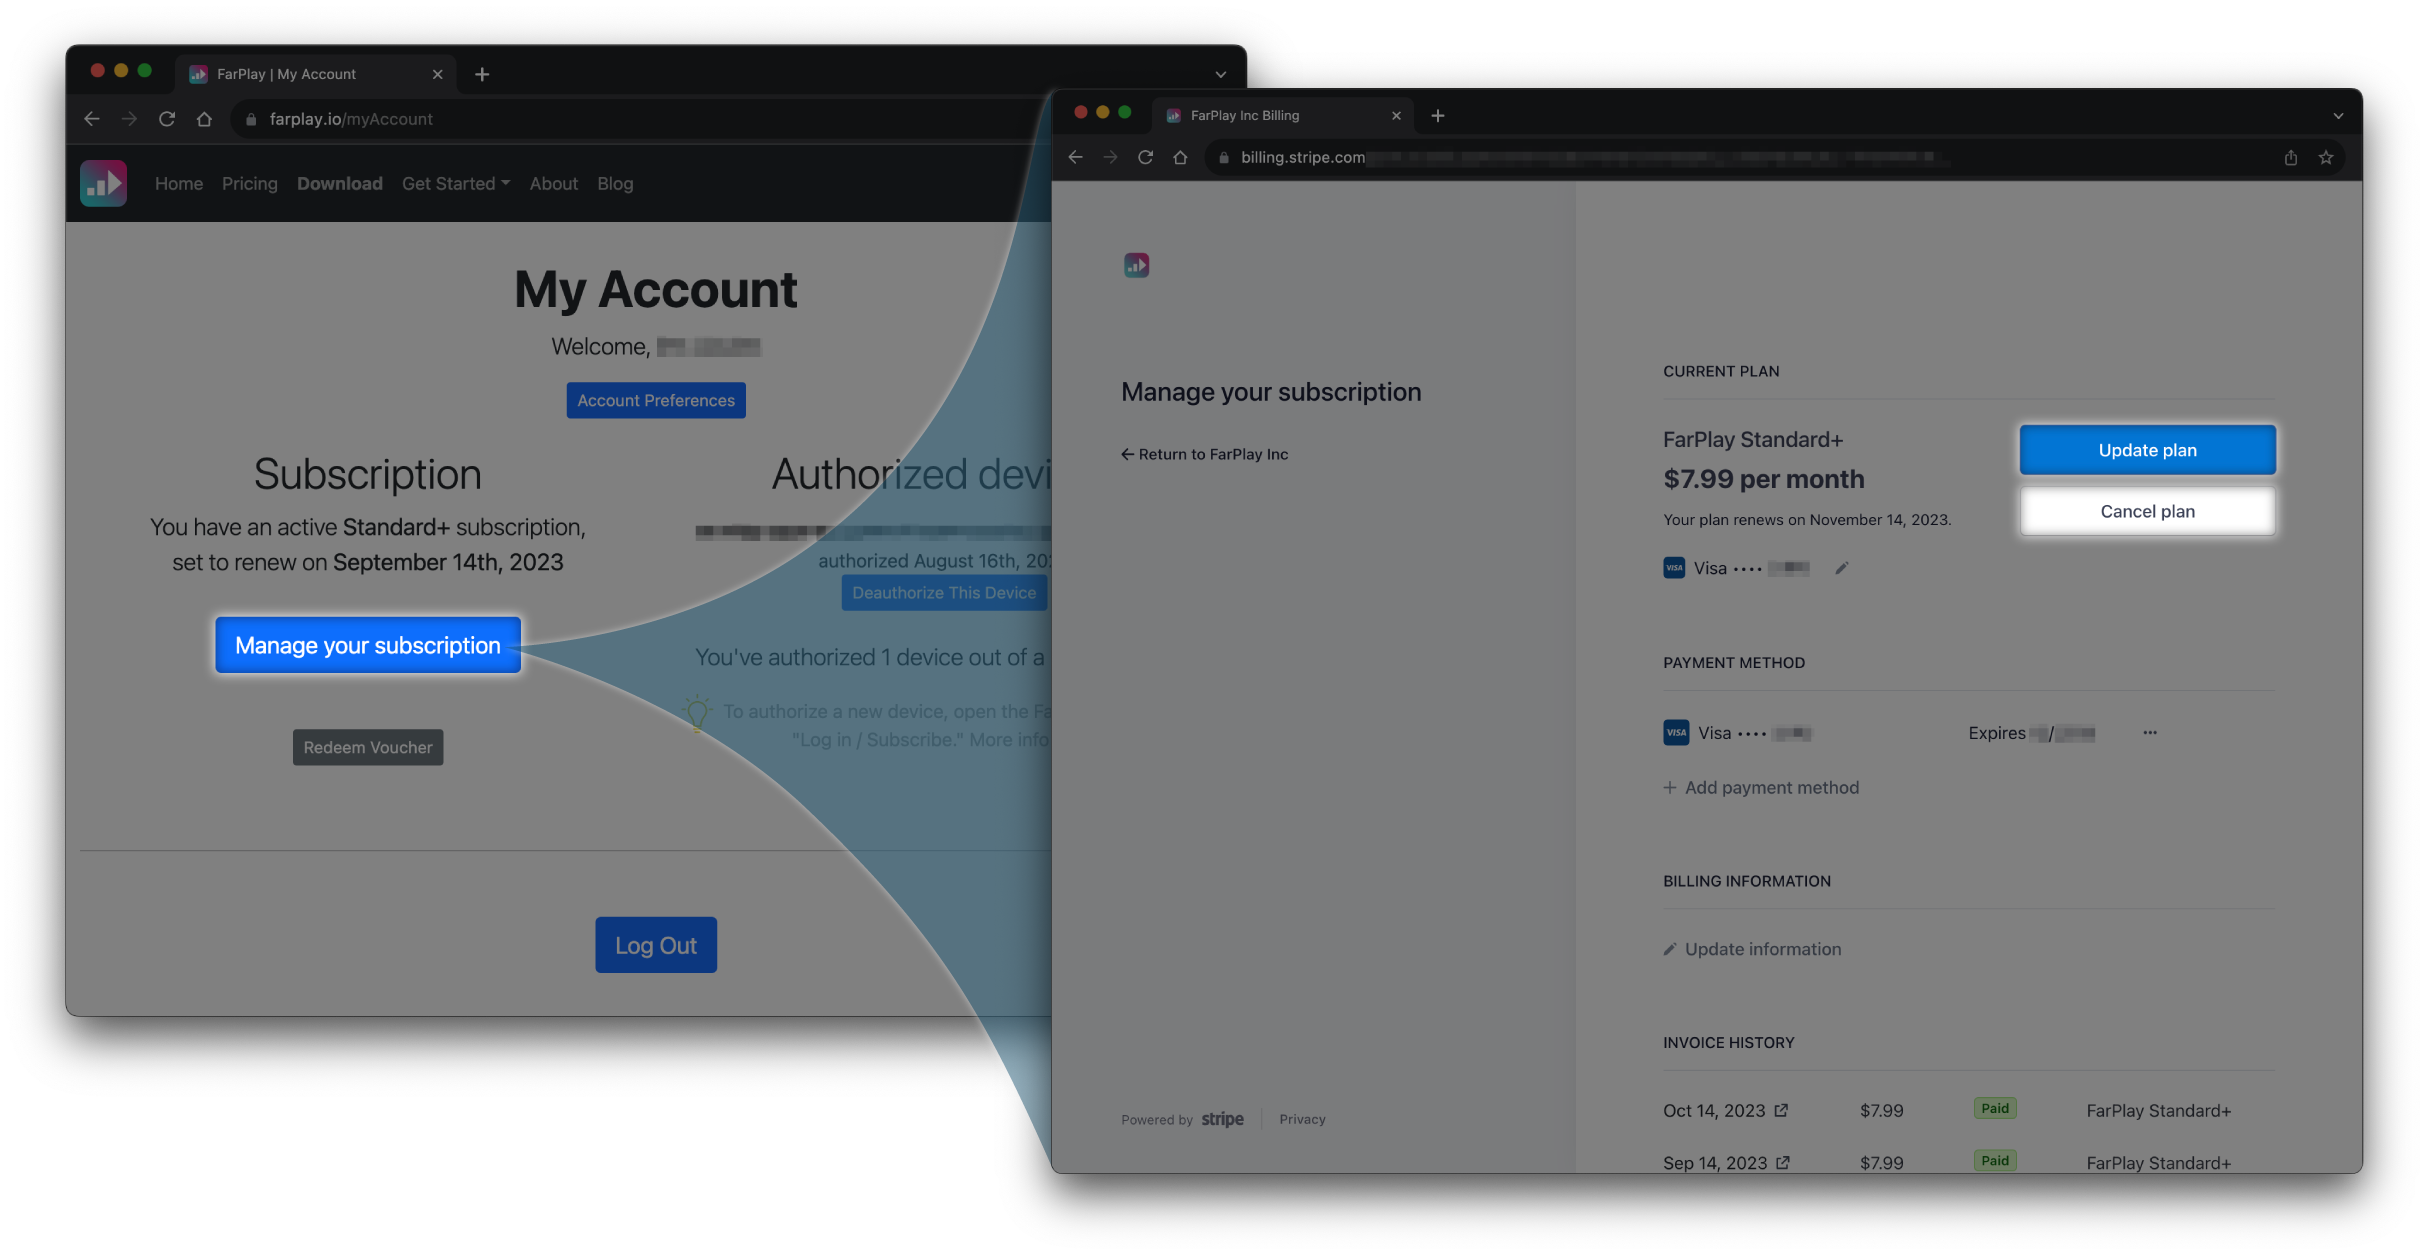
Changing your subscription
- Log in to your account at https://farplay.io/login.
- In the My Account page that appears, click “Manage your subscription.”
- In the Manage your subscription page that appears, click “Update subscription.”


 Alternatively, click the Session menu and choose Create a Persistent Room there.
 Windows:


 When you’re in your Persistent Room, you can copy an invitation message to share with other participants:
 If you want participants in the Waiting Room to stay there when you start a session in your Persistent Room, go to your room’s listing in Account Preferences, check its Locked by default checkbox, and click Save Changes. Leave this checkbox blank if you prefer to bring everyone in the Waiting Room into your Persistent Room as soon as you start a Persistent Room session.
 You can turn the waiting room on and off when you’re in your Persistent Room.


 When they press OK, the Session section in their copy of FarPlay reads, “Waiting for connection…” until you choose to admit or deny them entry. Note: If the participant is using FarPlay 1.2.3 or older, the dialog box telling them to wait to be let in won’t appear. Instead, they’ll go directly to the session window and be shown the “Waiting for connection…” message.
 On your end, FarPlay pops up the Waiting Room window.