


1. Connect equipment
- Make sure your computer is plugged in to power.
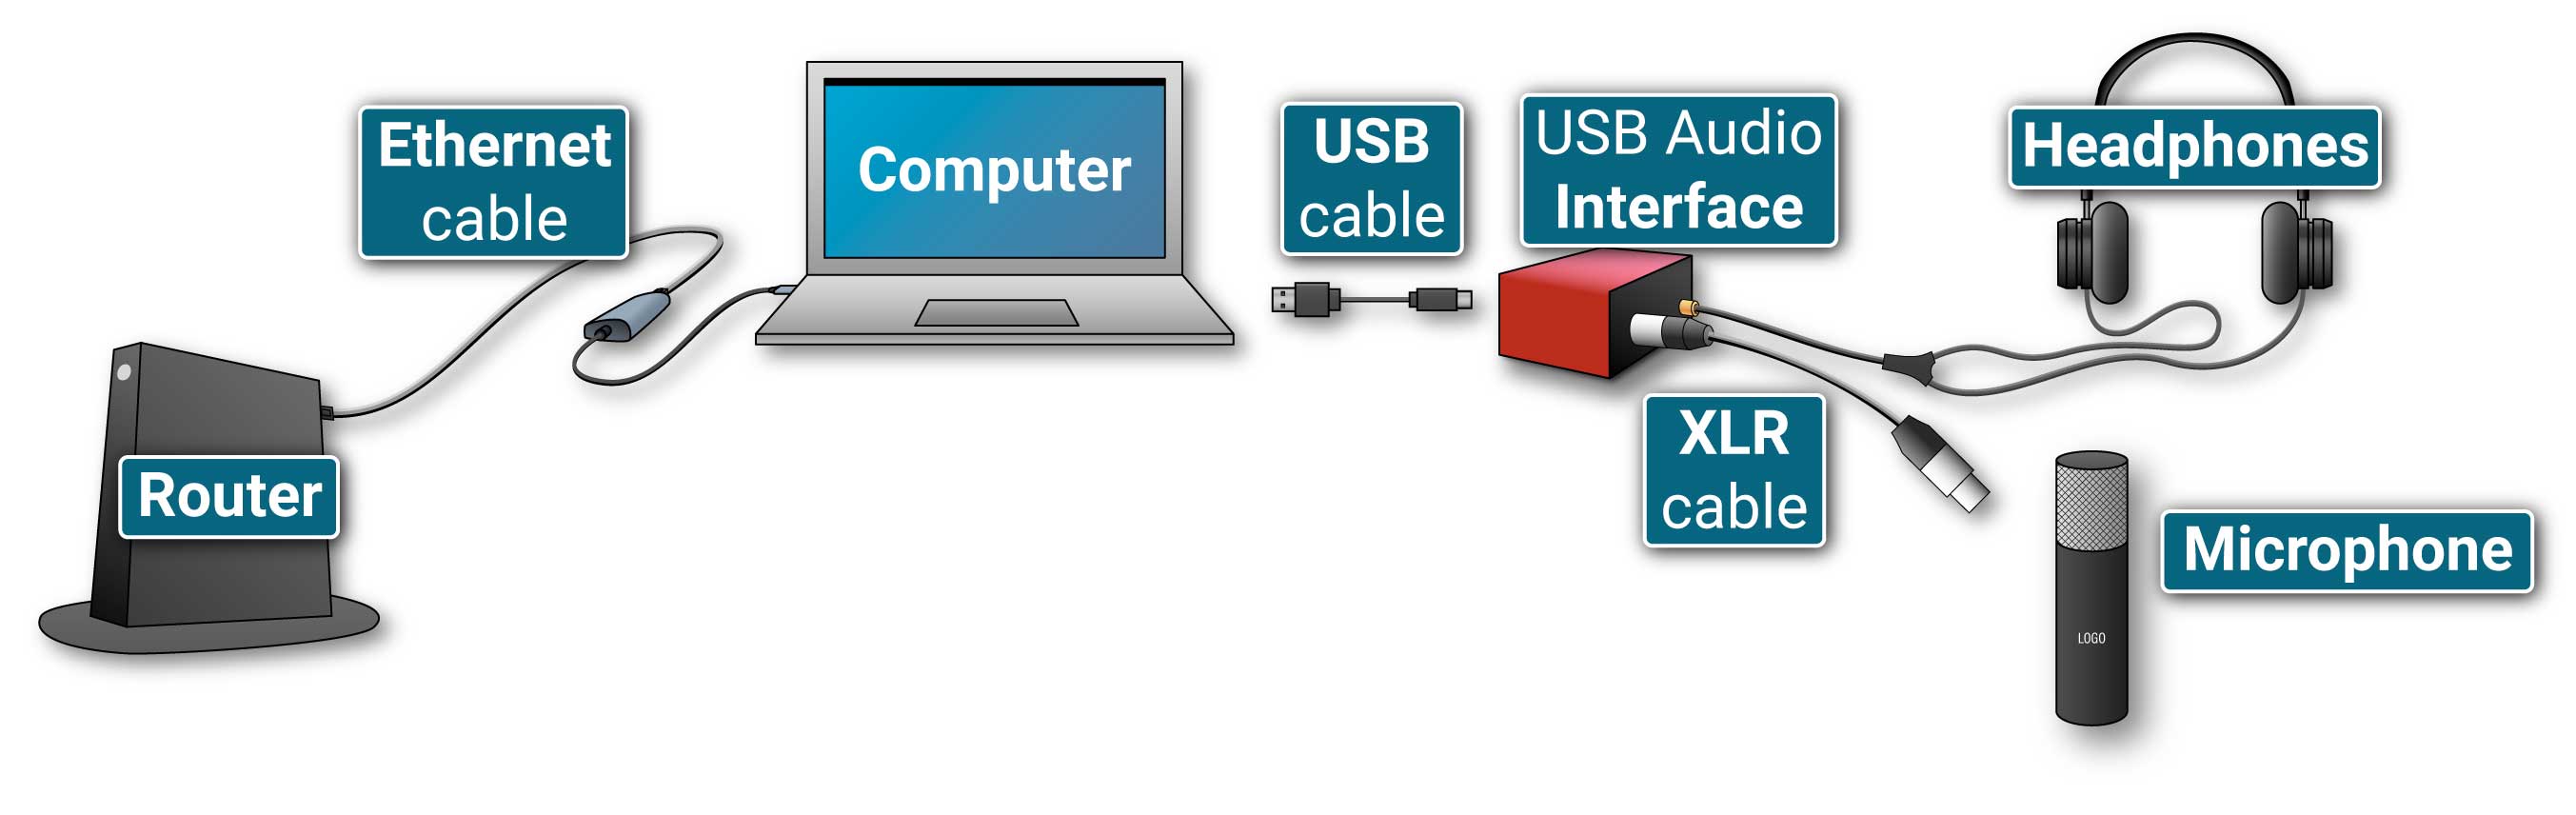
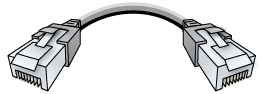
- Use an Ethernet cable
 to connect your computer to your main router (not a wireless extender/repeater router or Ethernet-over-Power adapter). If your computer doesn’t have an Ethernet port, use a USB-C-to-Ethernet adaptor or USB-A-to-Ethernet adaptor.
 - On your computer, turn off Wi-Fi.
 to connect your computer to your main router
 - Plug an integrated headset
 (combines headphones with mic) into the 3.5-mm jack on your computer.
2. Download and install FarPlay
- Download FarPlay for free here. We support Mac, Windows and Linux (tablets and phones are not yet supported).
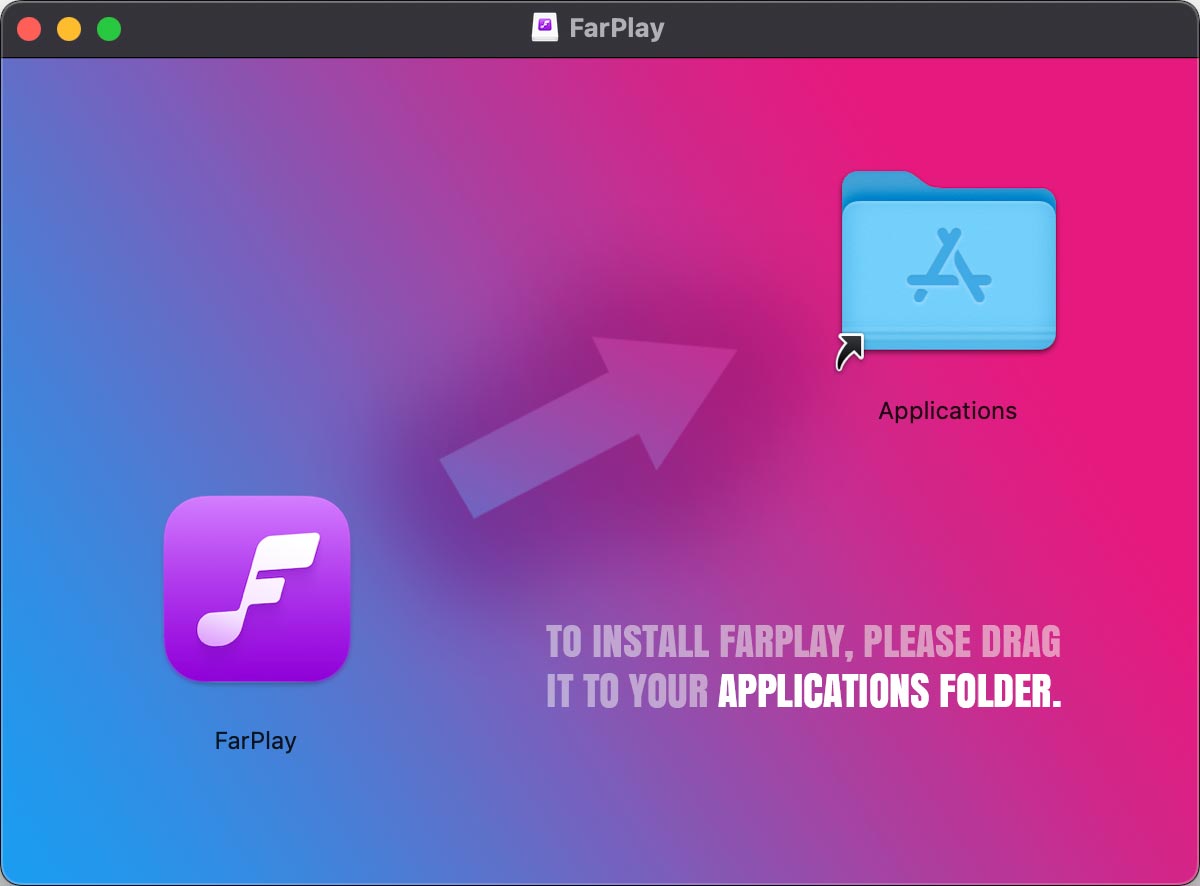
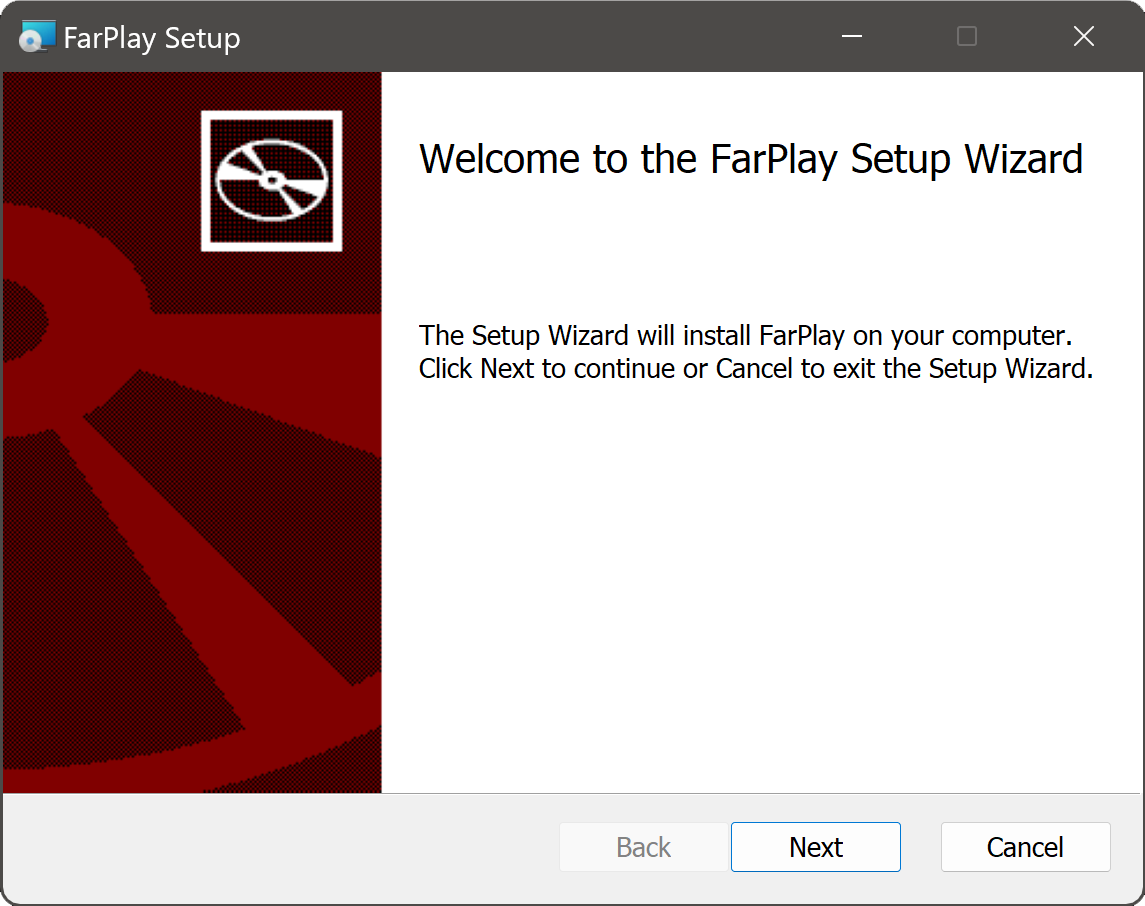
- Find the FarPlay installer in your Downloads folder. Open the installer and follow the instructions.

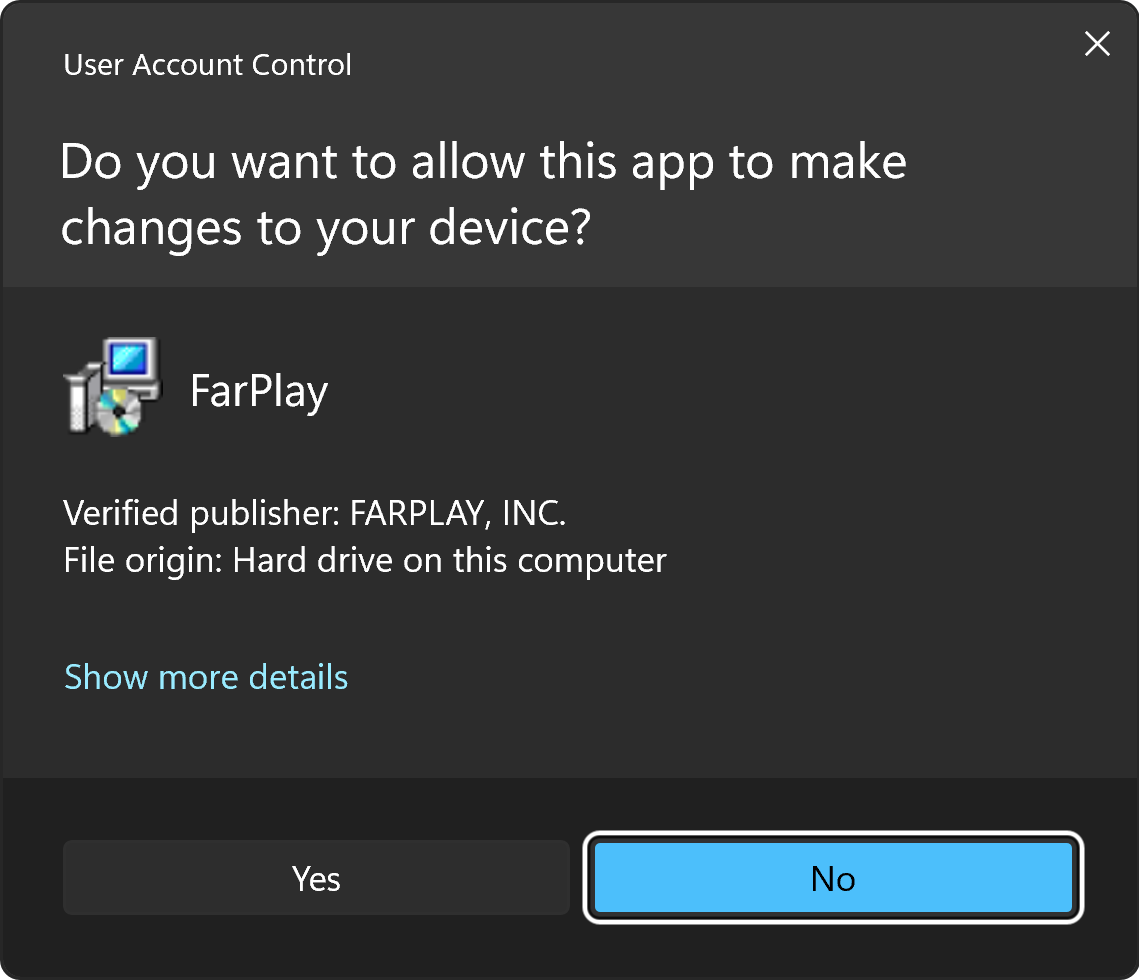
- Open FarPlay. Give FarPlay permission to run.

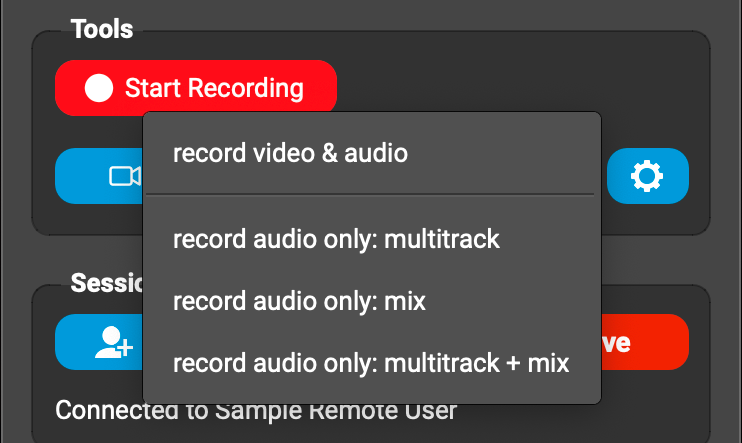
- To access advanced FarPlay features like creating multi-user sessions and multi-track recording, please subscribe.
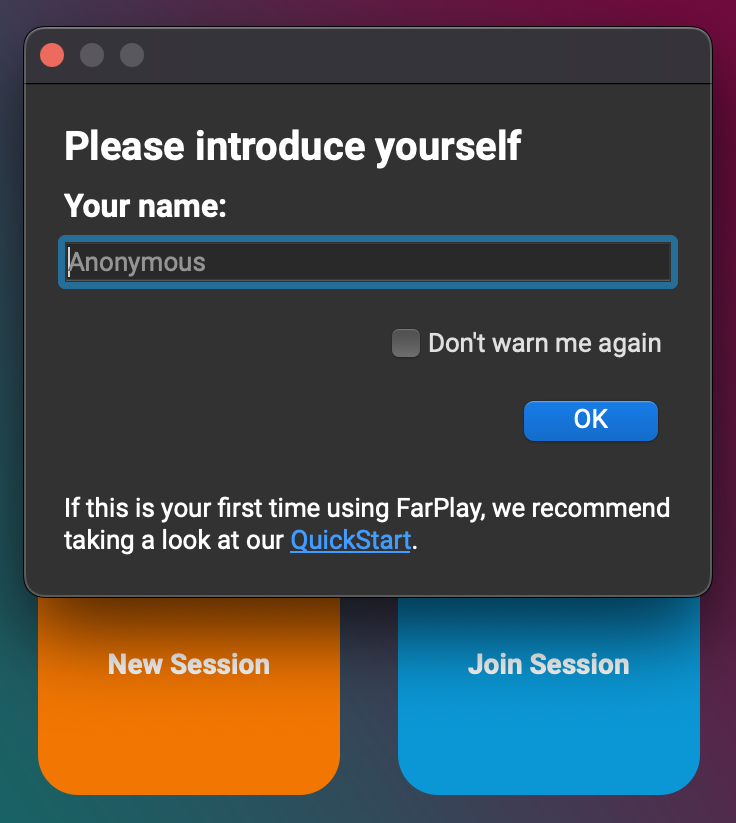
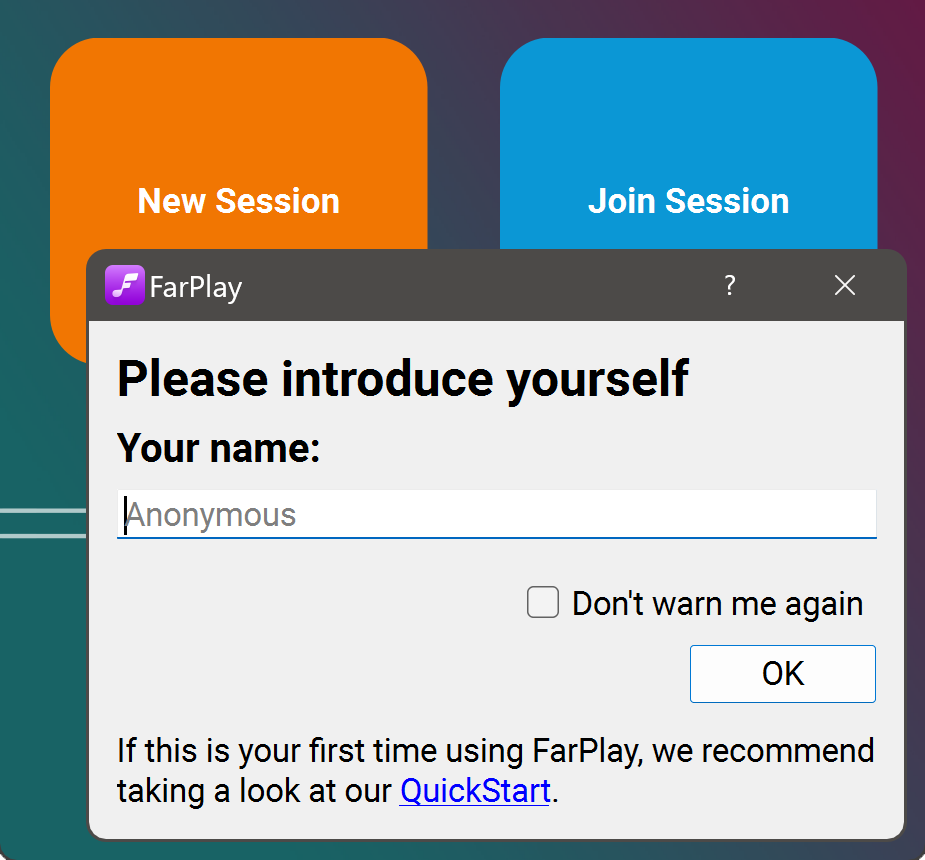
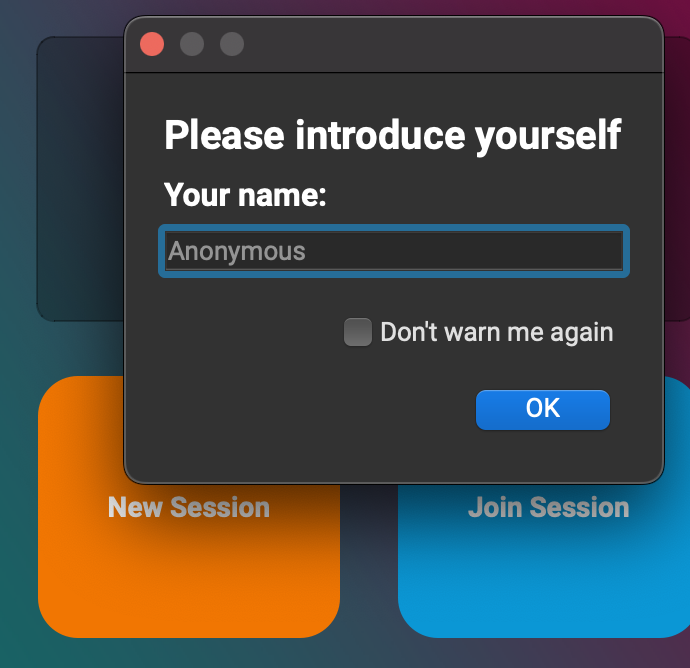
- Click New Session. Enter your name in the Your name: box. Press OK.
- Click Enter Session. Click OK to allow FarPlay to access your microphone.


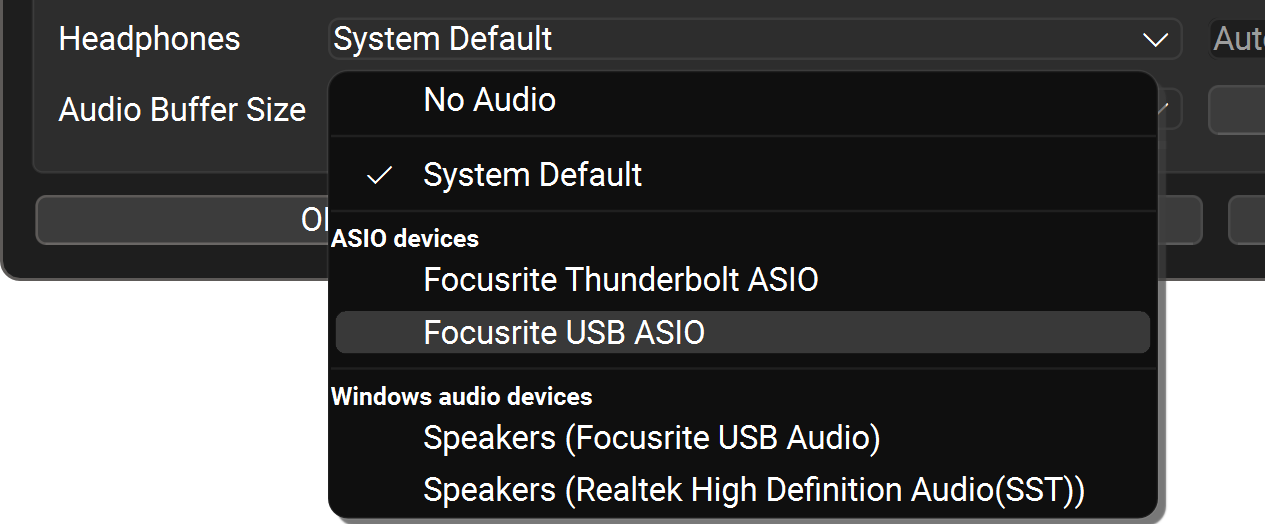


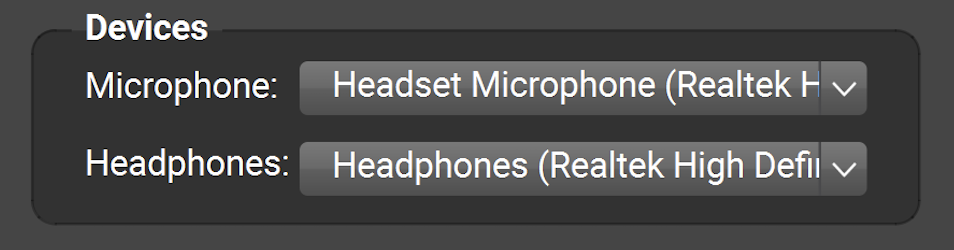
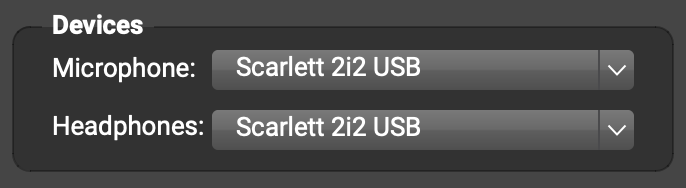
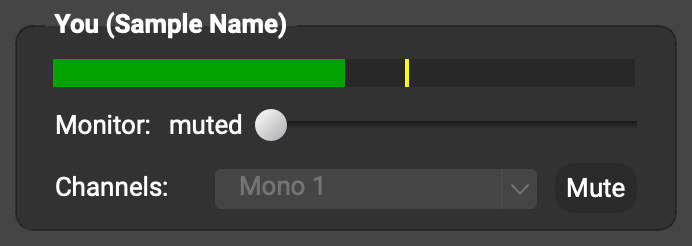
- In the main FarPlay window, find Devices and check that the Microphone and Headphones are set to the device you want to use. For example, when using Apple EarPods on a Mac, set Microphone to External Microphone and set Headphones to External Headphones.

- Test your mic: Speak into your microphone. Check that you see movement in the volume meter under You (…) at the top of the window (if not, make sure you’ve granted FarPlay mic permissions on Mac).

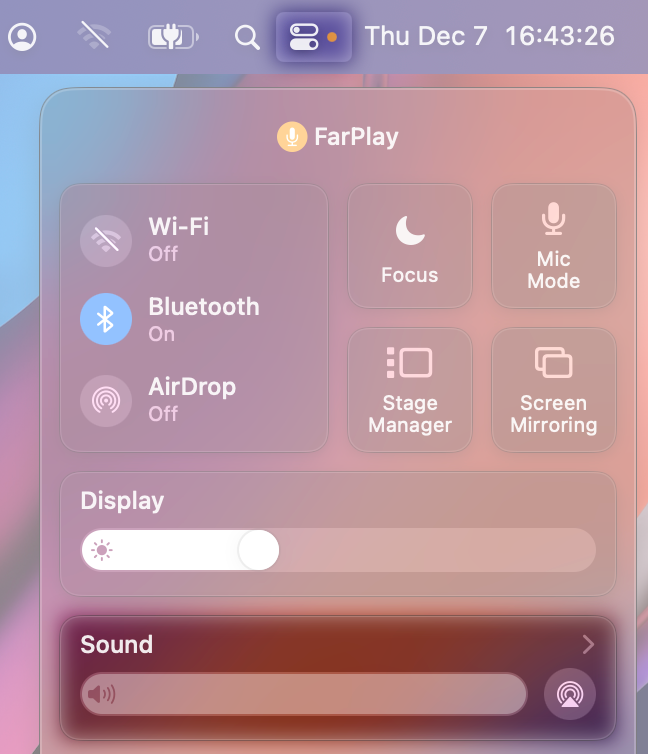
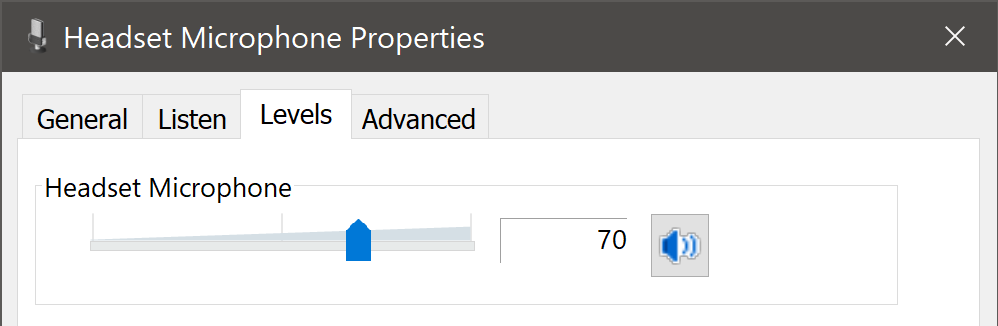
- If the volume of your voice is too low (hardly any green when you speak) or too high (lots of red when you speak/sing), adjust the gain knob on your mic. If your mic has no gain knob, click the Control Center (near top-right corner of screen) and choose Sound.
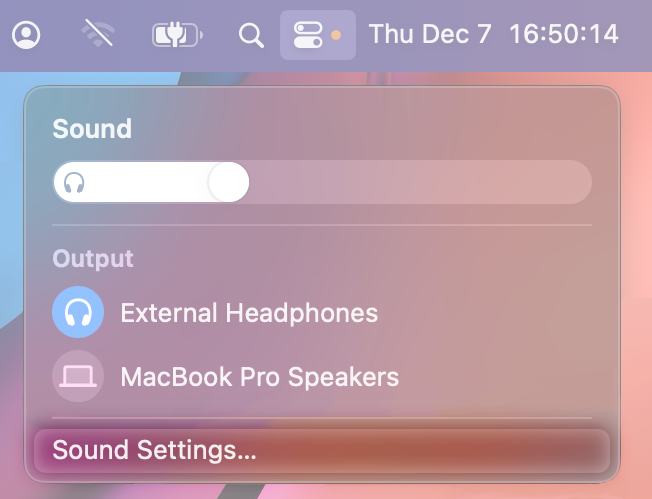
- Choose Sound Settings.
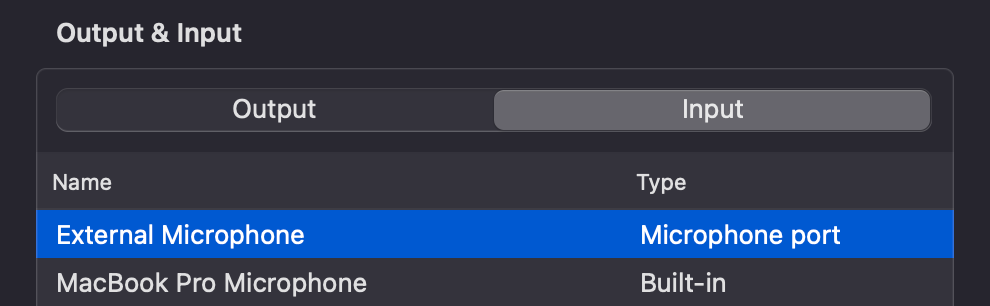
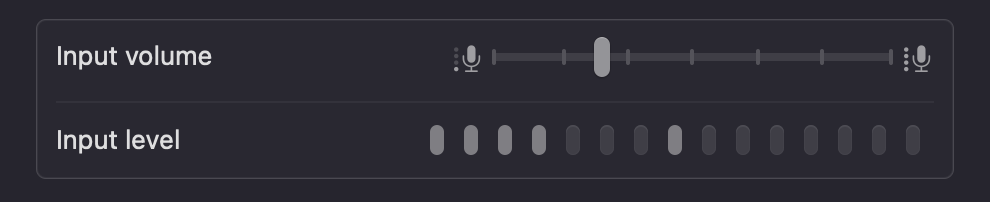
- Click on the Input tab. Click to highlight the mic you’re using.
- Drag the Input volume slider until you’re happy with the mic level. In the level meter under You (…) in FarPlay, you want to see green when speaking, and you want to avoid seeing red when singing/playing. You can close the Mac Sound Settings window once you’ve adjusted your mic volume.
- Test your headphones: Drag the Monitor slider under your volume meter to the right. Listen to make sure you hear your own voice in your headphones as you talk.


- Click to return to the FarPlay welcome screen.
 to return to the FarPlay welcome screen.
4. Create a session, or join an existing one
- If you’re creating a session, click New Session.
- Click Invite and Copy invitation to copy a clickable invitation to share with other participants (by email or text, for example). Then, click Enter Session.
- If you’re joining a session someone else has created, click the invitation link they sent you.
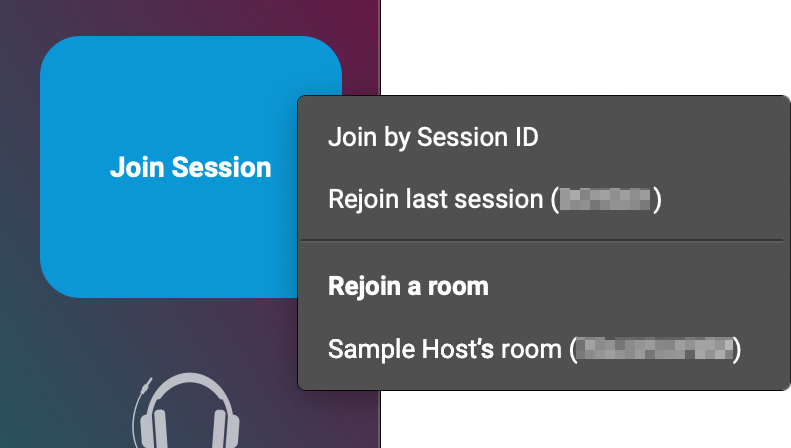
- If you’d like to rejoin another user’s Persistent Room or a recent session, click the Join Session button for a list of sessions and rooms.
- If someone has shared a session ID (instead of an invitation link) with you, click the Join Session button, choose Join by Session ID (if a menu appears), and then click Paste. Then, click Join Session.


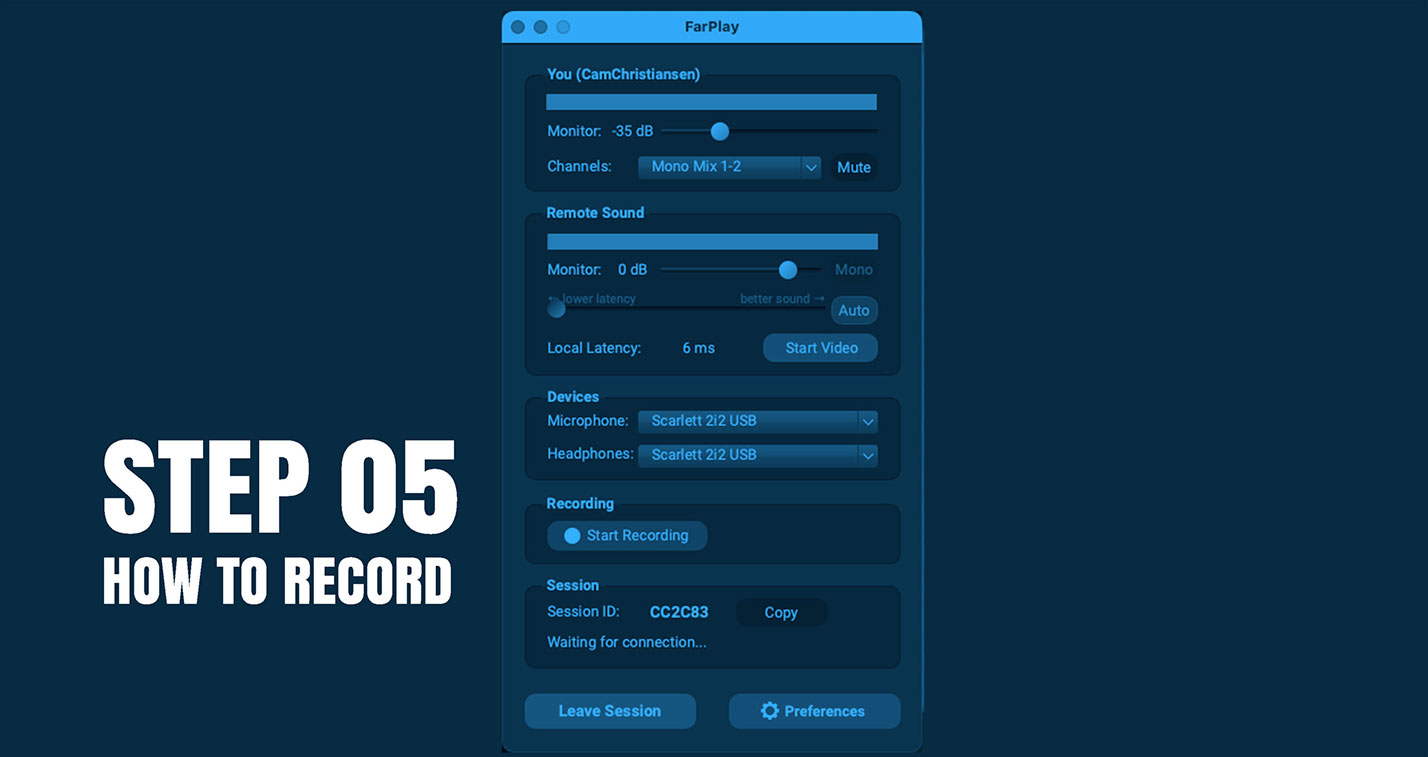
5. Set monitoring levels
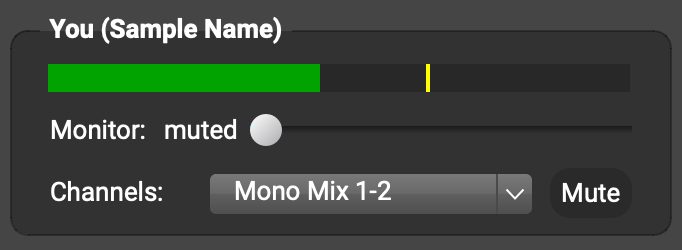
- Under You (Your Name), drag the Monitor slider to the right to increase the volume of your voice in your headphones or drag the Monitor slider to the left to decrease the volume of your voice in your headphones.
- Click the button when you want to silence the audio you transmit (examples: when coughing).
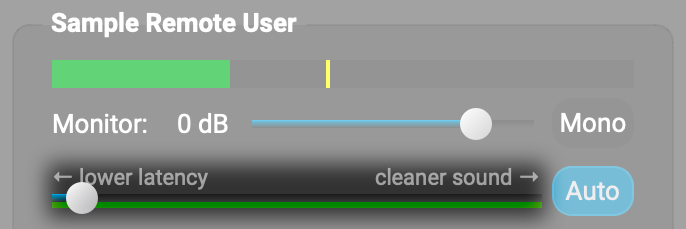
- Under the Remote User’s Name / Remote sound, drag the Monitor slider to the right to increase the volume of remote sound in your headphones or drag the Monitor slider to the left to decrease the volume of remote sound in your headphones.
 button when you want to silence the audio you transmit (examples: when coughing).
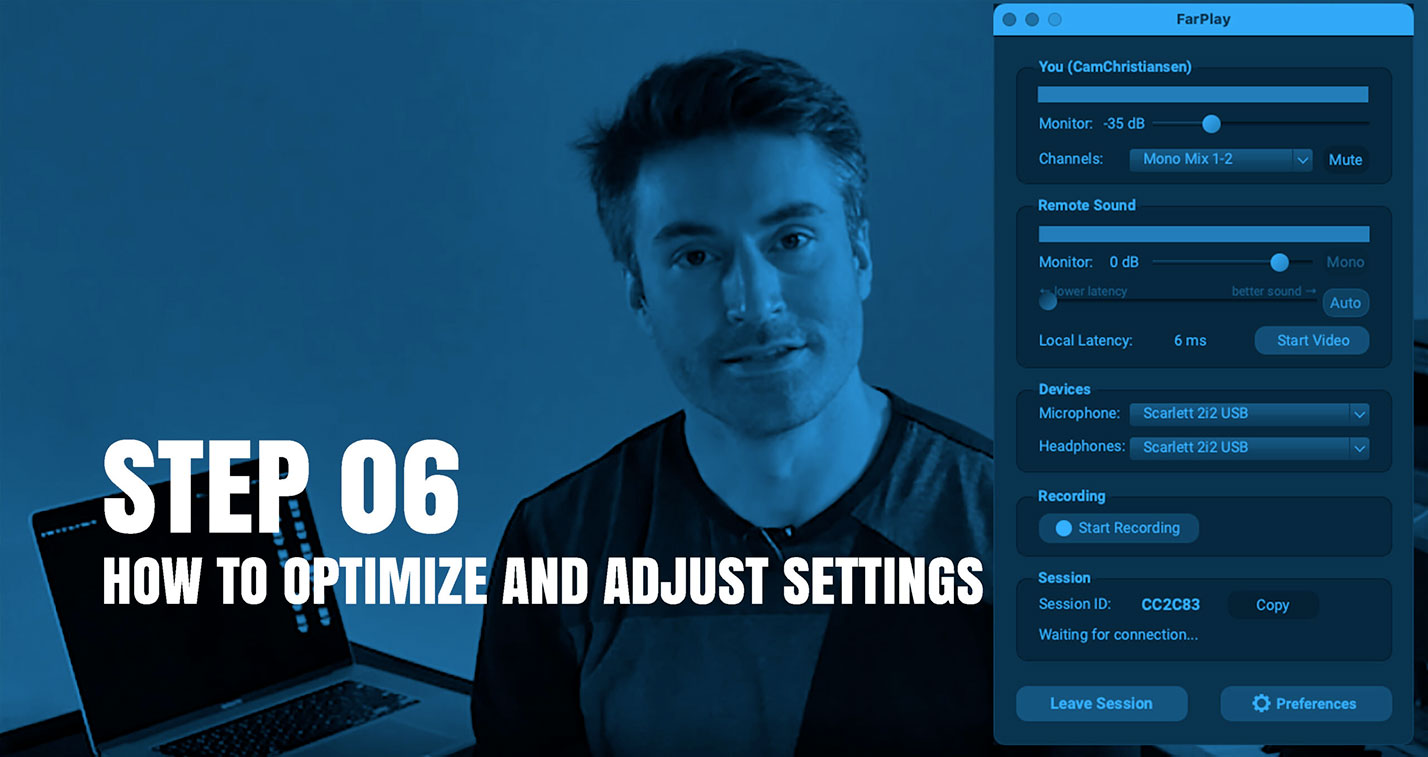
6. Set your latency
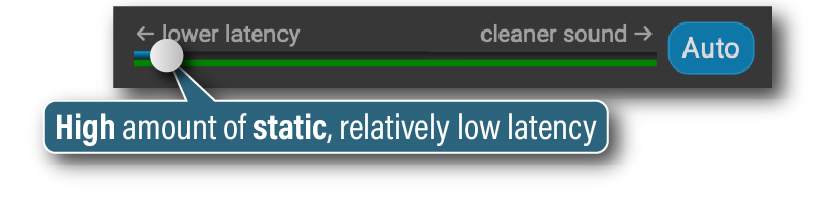
- Under the Remote User’s Name / Remote sound, find the lower latency — cleaner sound slider.
- Drag this “latency slider” toward the right for fewer audio glitches (at the expense of higher latency).
- Drag the latency slider toward the left for lower latency (at the expense of more frequent audio glitches).
- Keep Auto latency mode (, on by default) turned on if you want FarPlay to try to maintain stable audio quality (good for conversations).
- Click the Auto button to switch to manual latency mode () if you want FarPlay to try to maintain stable latency (good for making music).

 , on by default) turned on if you want FarPlay to try to maintain stable audio quality (good for conversations).
 ) if you want FarPlay to try to maintain stable latency (good for making music).
The “Remote Latency” is an estimate of the time it takes to get audio from a remote mic to your headphones.
⚠ If someone in a musical ensemble notices unusually high Remote Latency, check that everyone is using Ethernet with Wi-Fi turned OFF. Make sure no one is connecting using a wireless extender/repeater router or Ethernet-over-power adapter. Ask everyone to turn off VPN, if used. Have everyone quit all unnecessary applications.
 ⚠ If someone in a musical ensemble notices unusually high Remote Latency, check that everyone is using Ethernet with Wi-Fi turned OFF. Make sure no one is connecting using a wireless extender/repeater router or Ethernet-over-power adapter. Ask everyone to turn off VPN, if used. Have everyone quit all unnecessary applications.
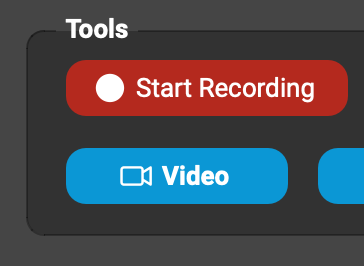
7. Start built-in video
- In the Tools section, click Video to open the video window.
- Click OK to allow FarPlay to use the camera.
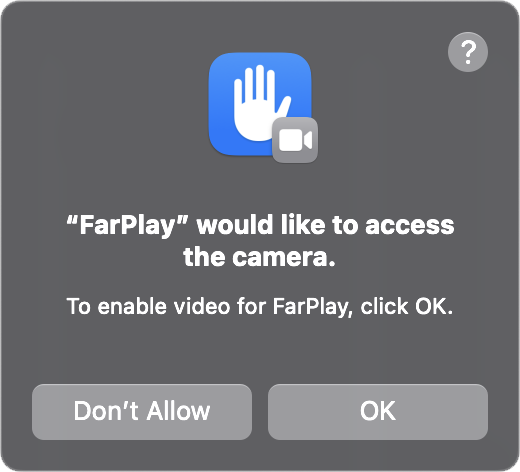
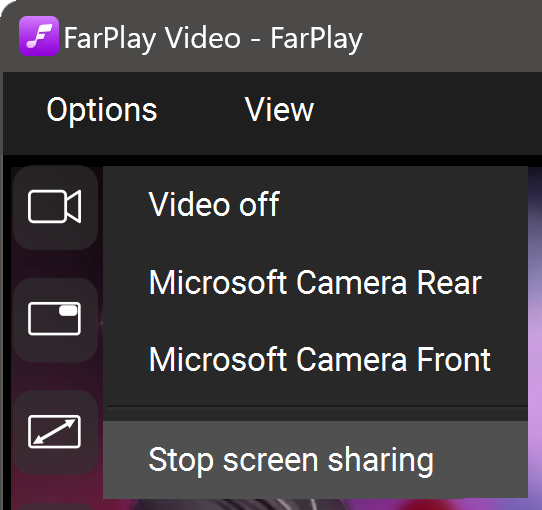
- Click the Camera button
 at the top-left corner of the video window to choose the camera you want to use share video.
 - If you can’t get any video from your camera, give FarPlay permission to use your camera in your Mac settings.
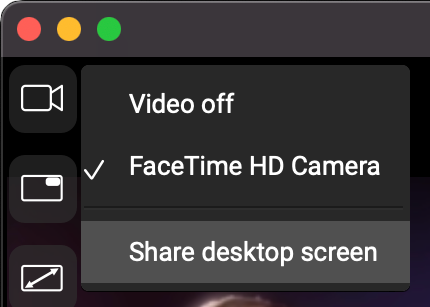
8. Share your screen
- To share your screen, click the Camera icon in the video window and choose Share desktop screen.

- If this is your first time sharing your screen in FarPlay, you’ll need to let macOS know that it’s OK for FarPlay to see your screen. Do this using our step-by-step instructions.
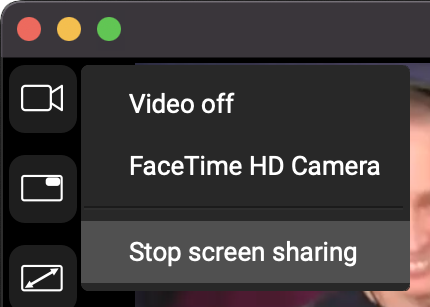
- To stop sharing your screen, click the Camera icon and choose Stop screen sharing.
9. Invite participants to a session
To invite participants to an active session, look in the Session section, click Invite, and choose Copy invitation. Share your invitation (for example, using text messages and emails). For sessions you create in free mode, the Invite button is disabled once you and one other participant are in the session. To create sessions with more users, subscribe.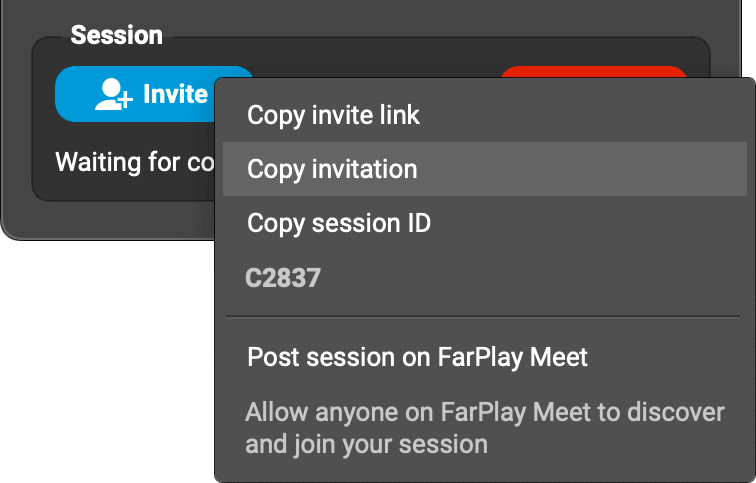
10. Multi-user session controls
FarPlay subscribers can create sessions with more than two participants. A subscription is not required for joining a multi-user session someone else has created. To learn about settings available in multi-user sessions, click here.